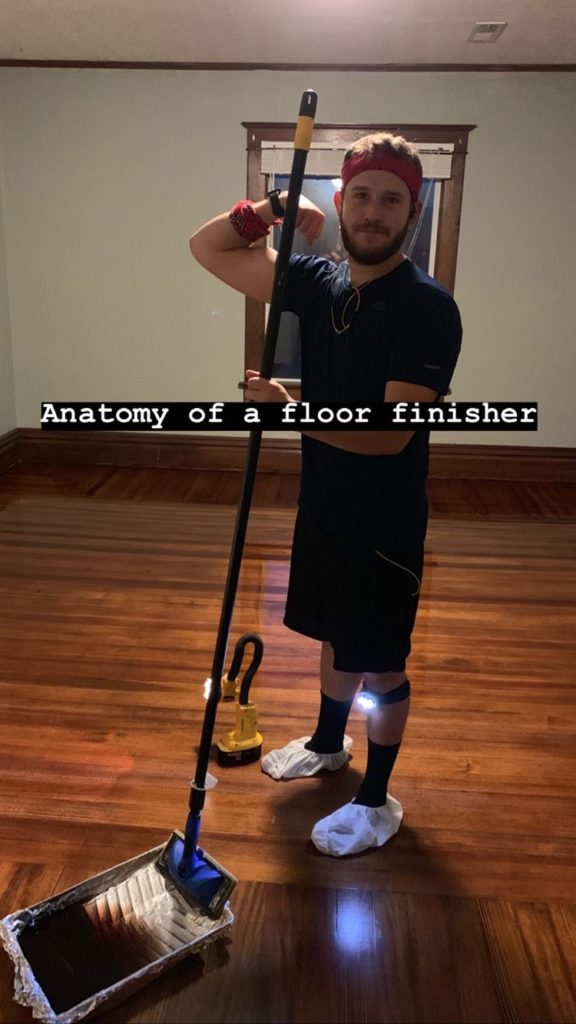
Refinishing Wood Floors from 1914 | Final Reveal
We're so close you guys! So close!
You can read parts one, two, and three if you need to catch up.
After we let the stain dry for 12 hours, we pulled out the poly. The first coat we applied in a very devil-may-care fashion, mainly out of ignorance.
We were left scratching our heads as to why there were so many streaks and uneven spots. Turns out, we were applying too little product and we weren't applying in the direction of the boards.
This mistake wasn't ideal, but we were able to reverse the damage after a quick pole sand with 220 sandpaper and another swiffer clean. Cole then took over applying the poly with incredible care, I followed him around looking for imperfections and refilling his tray, and we arrived at a MUCH smoother finish.

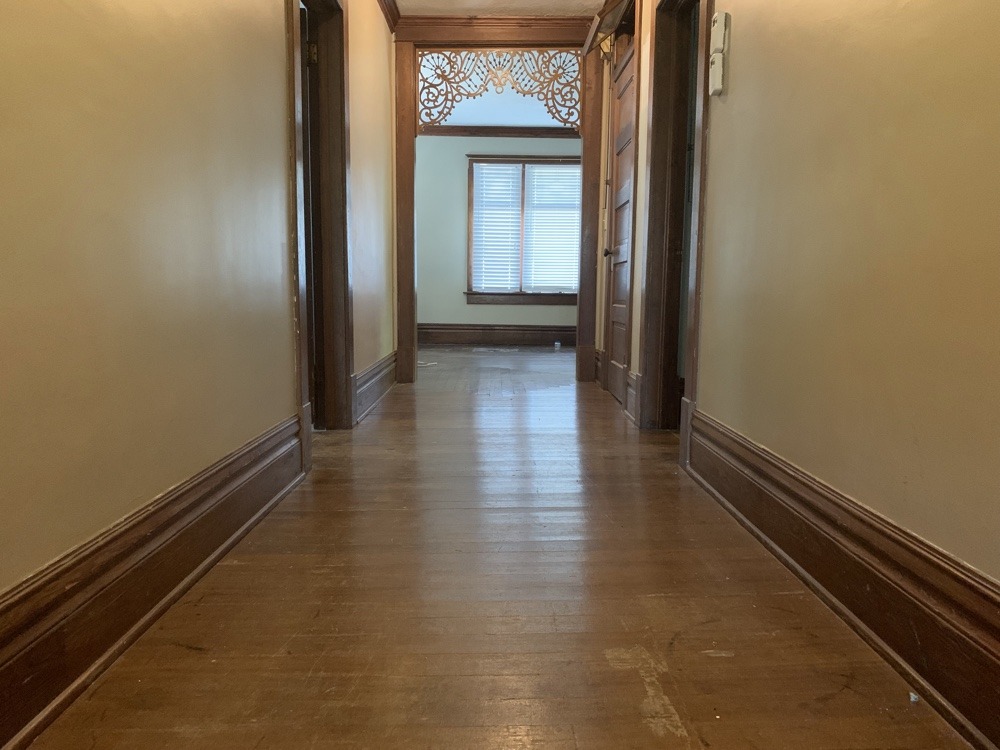
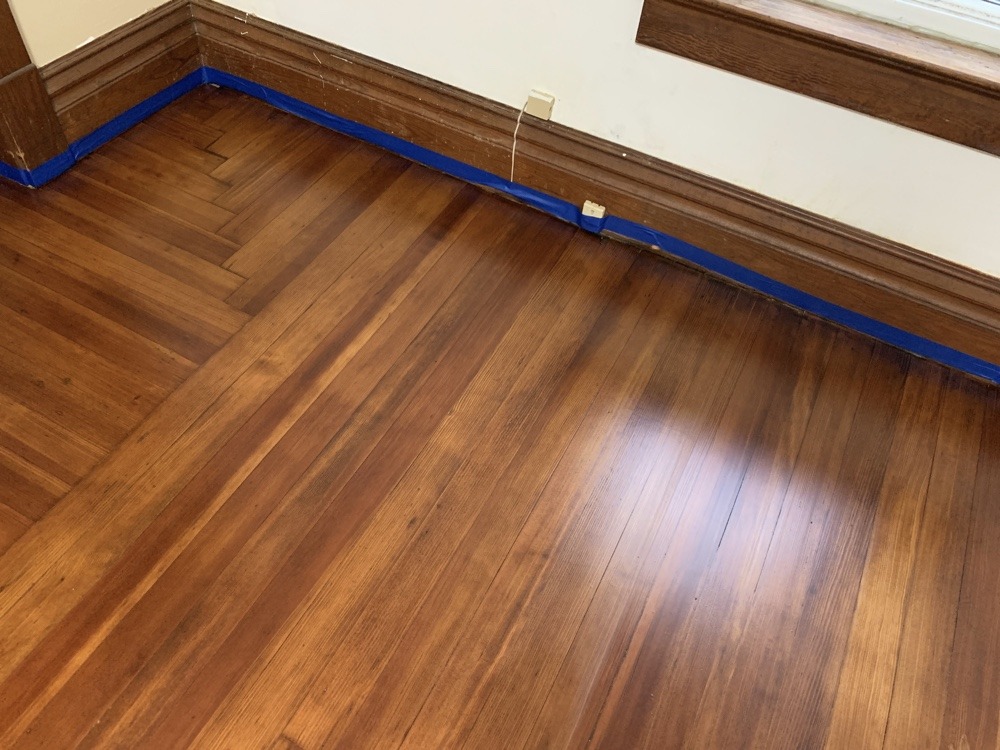
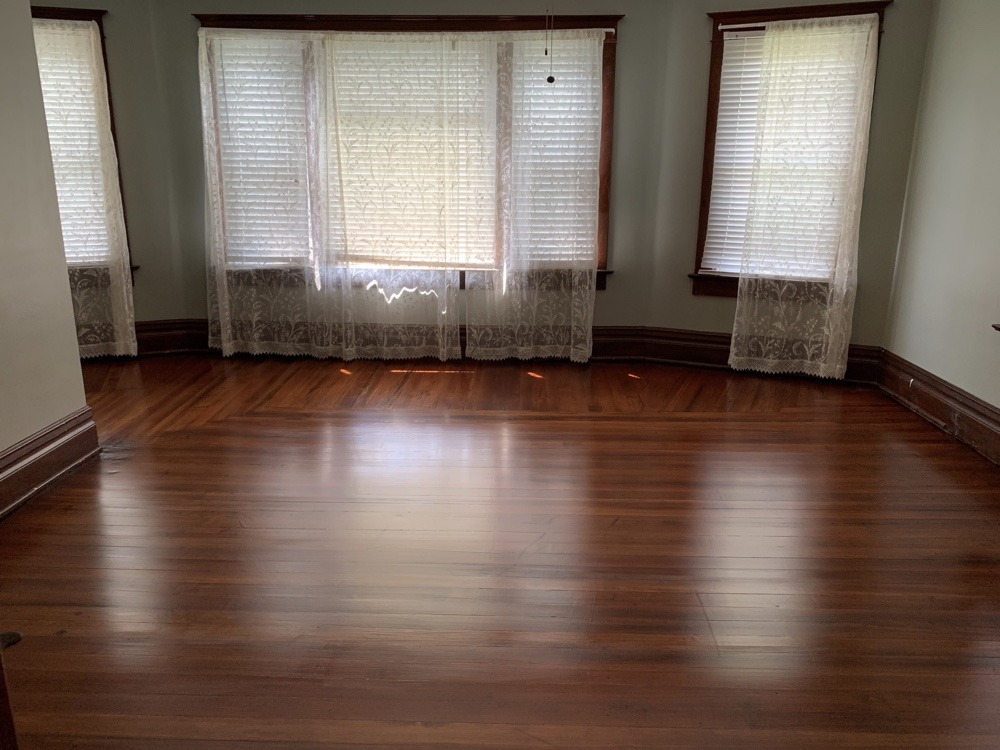
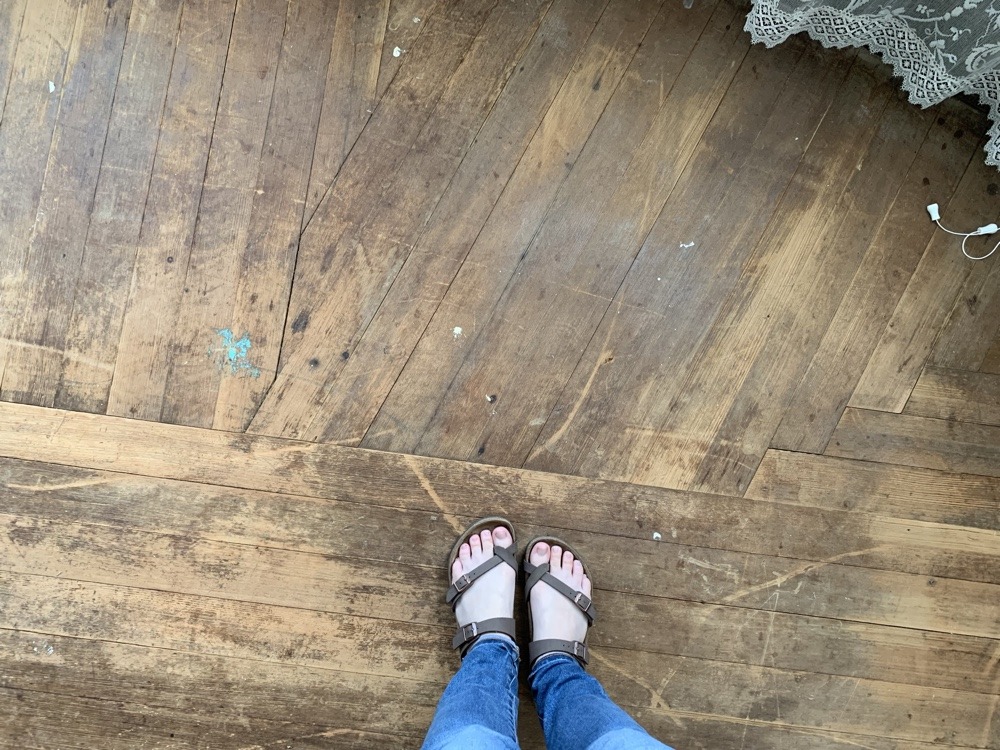
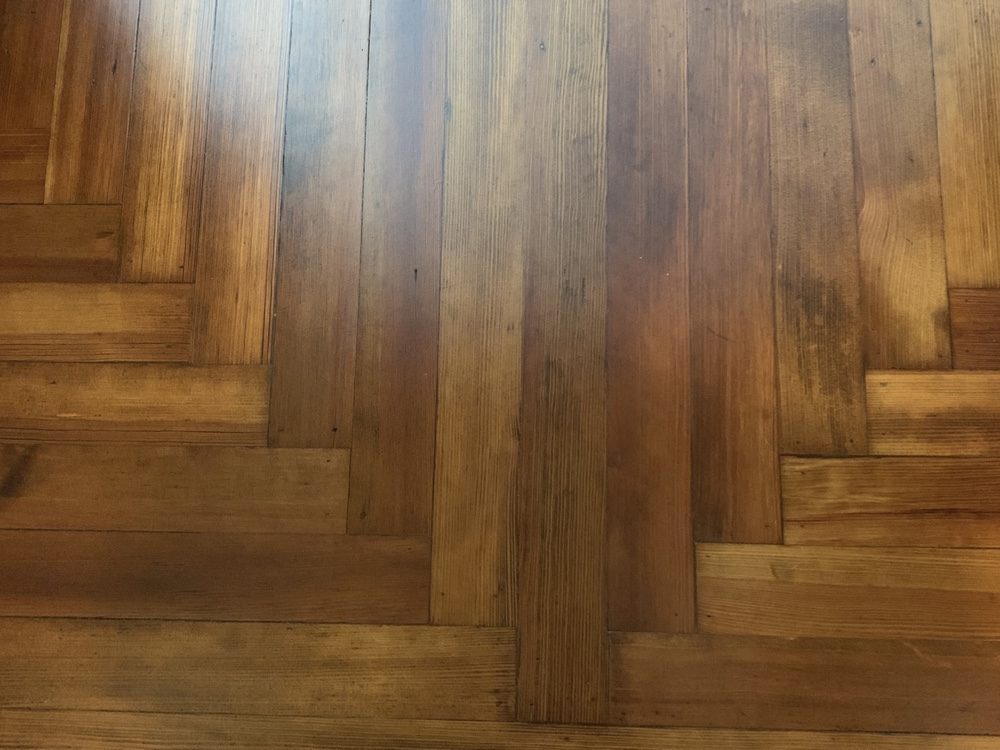
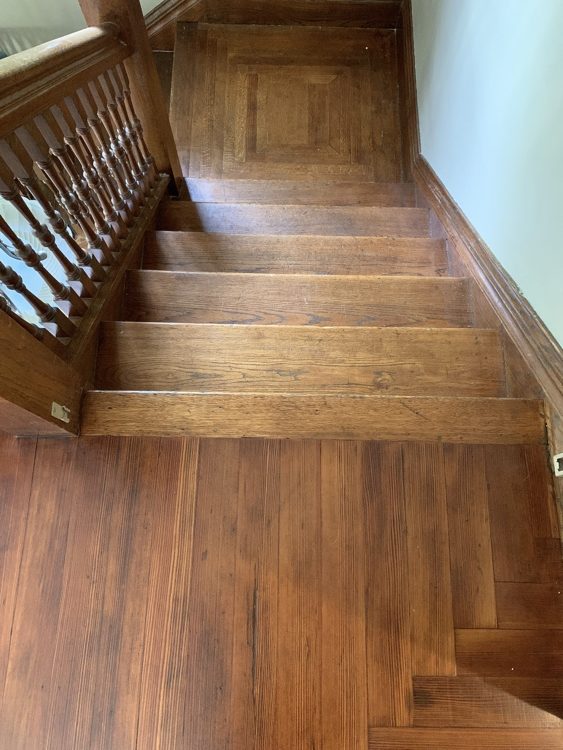
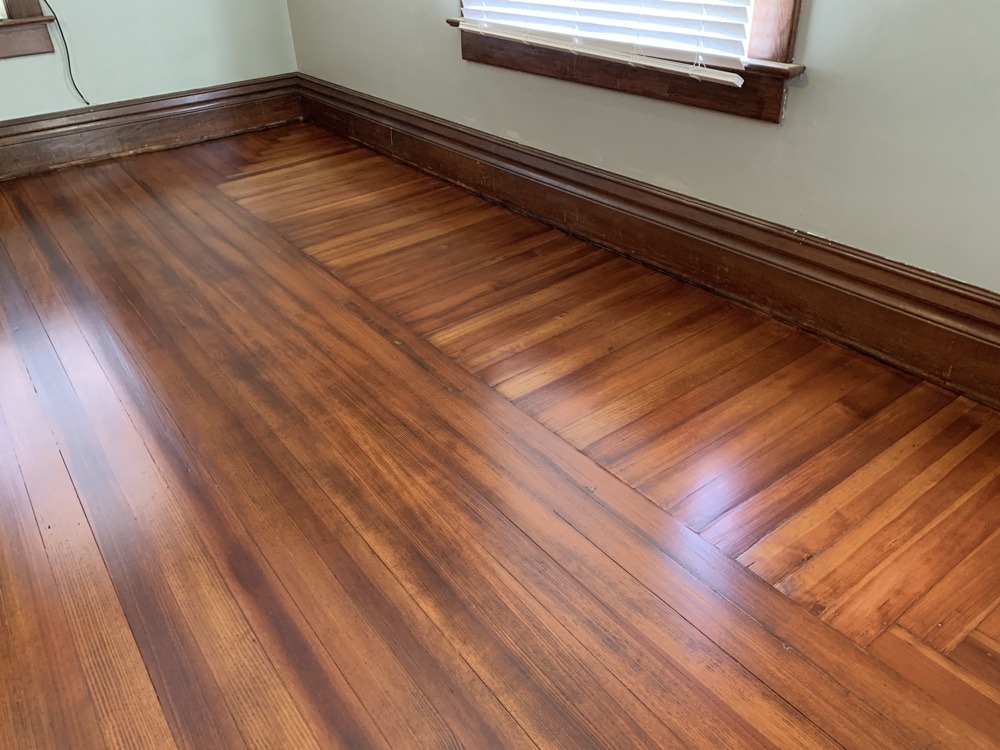
After FOUR coats of poly, we finally turned off the lights to this:


Our eyes were burning from the fumes, our first floor was trashed, and we were completely spent, but within just a few short days, we could finally take the after pictures.
So without further ado...
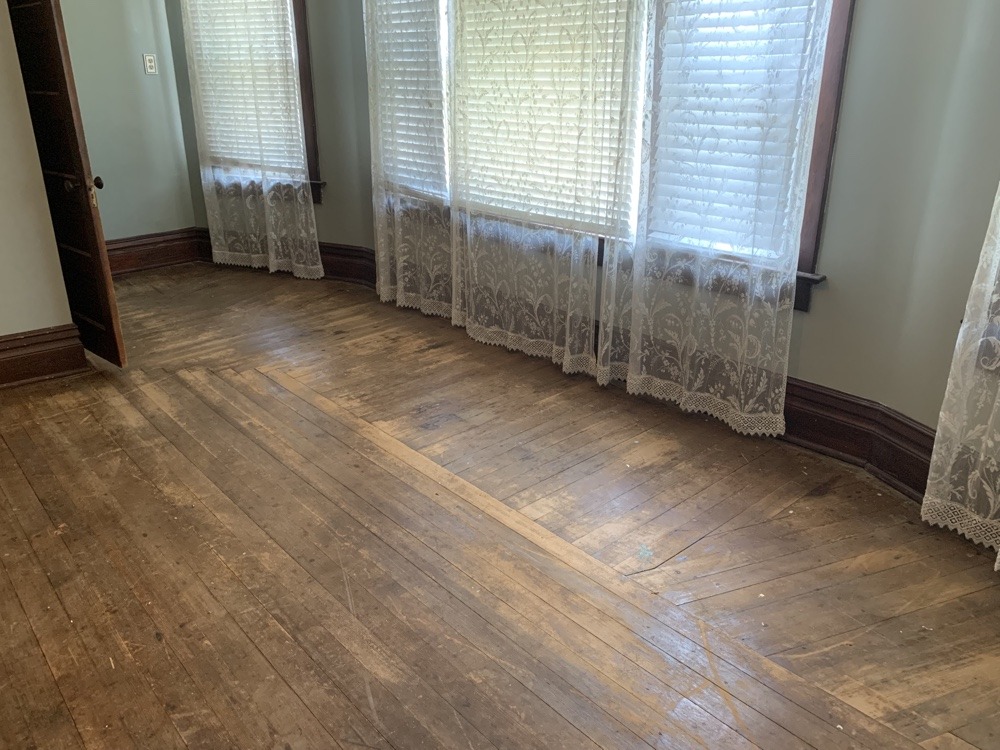
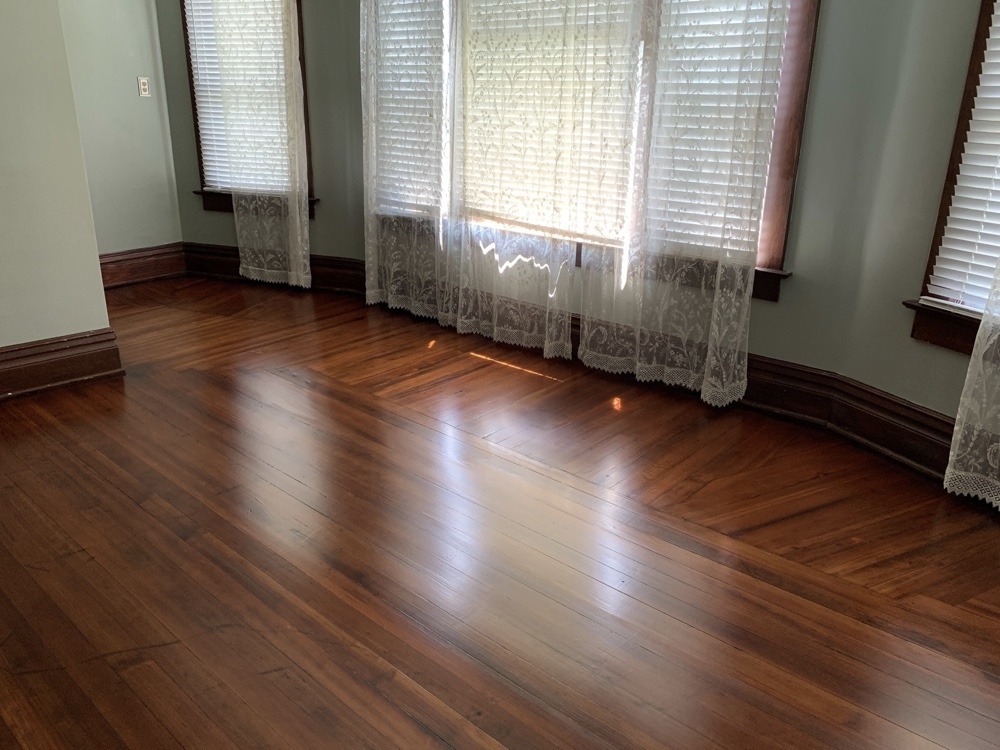
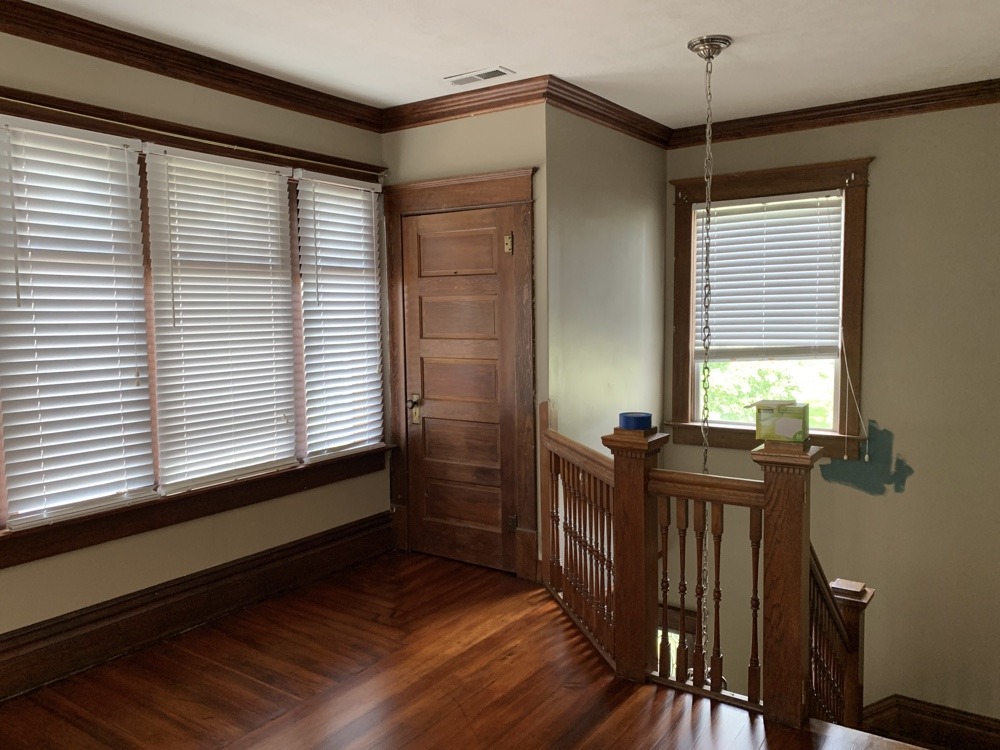
The Before and After Photos


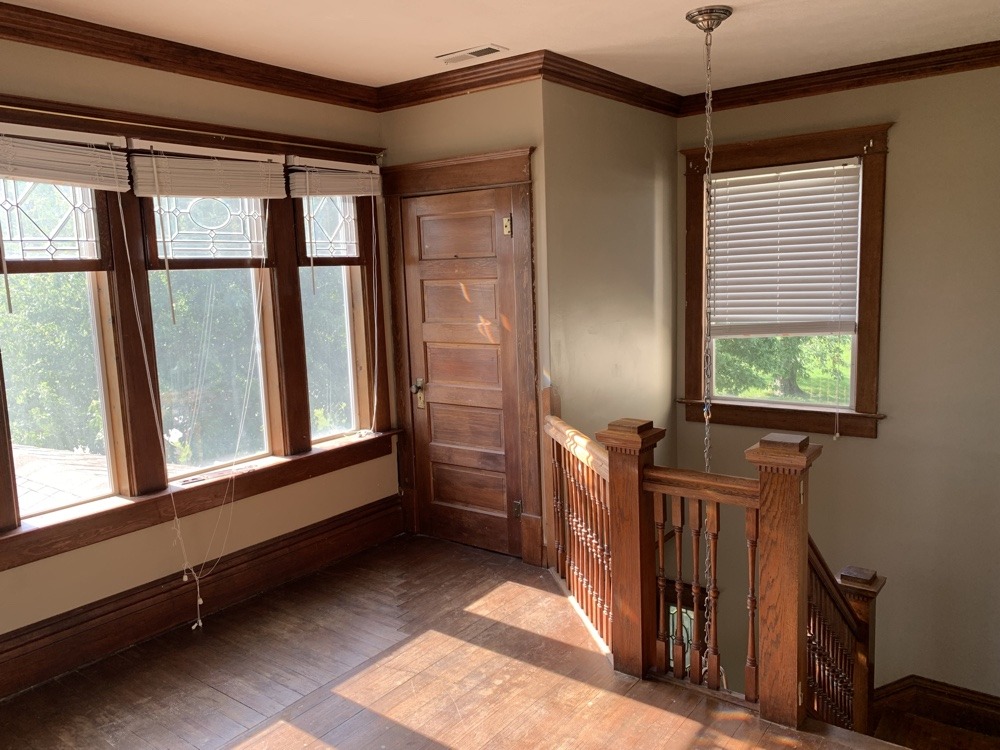

Wheew! Writing this blog was almost as much work as refinishing the floors themselves.
Our next step is to wait at least 10 days to move any furniture in, then refresh all the wood trim and doors to match the glowing beauty of the floors.
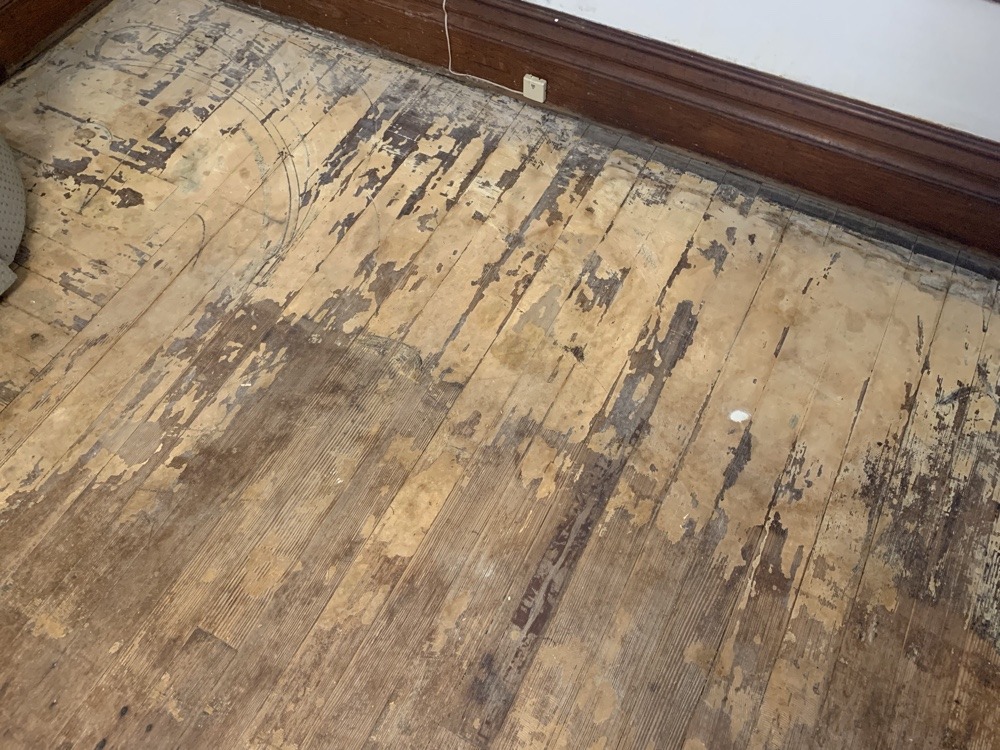
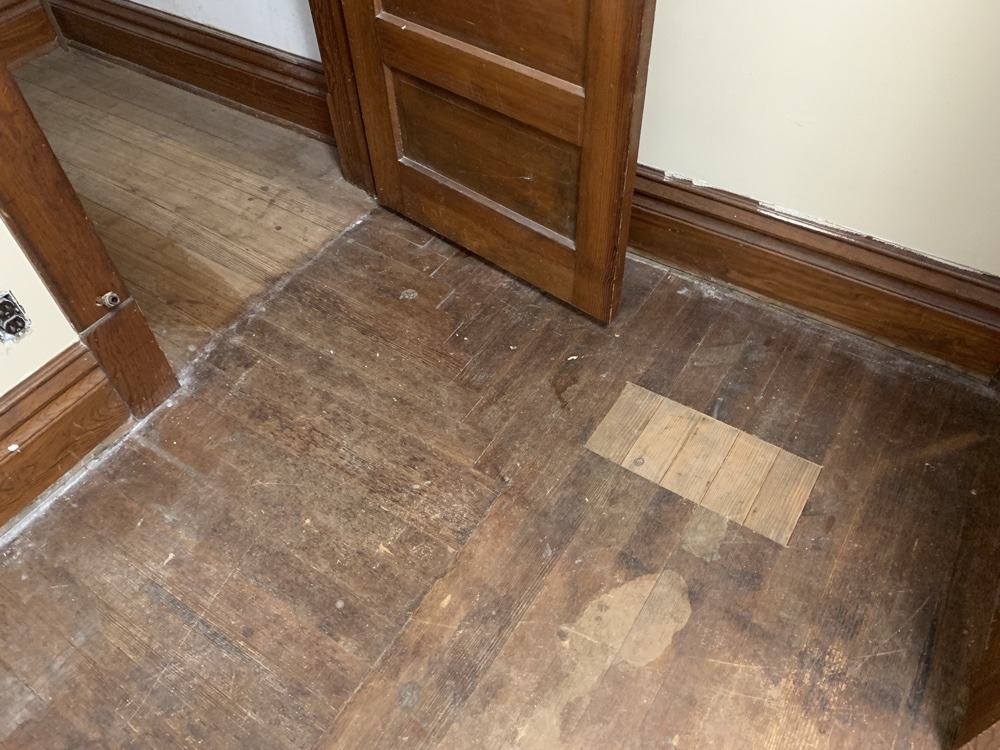
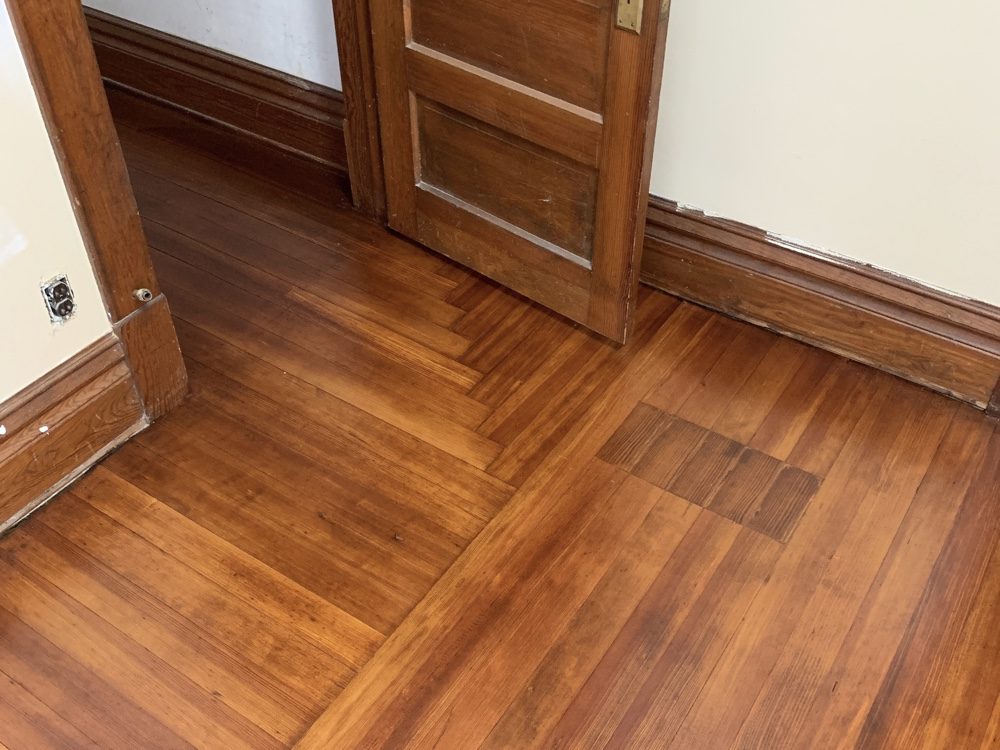
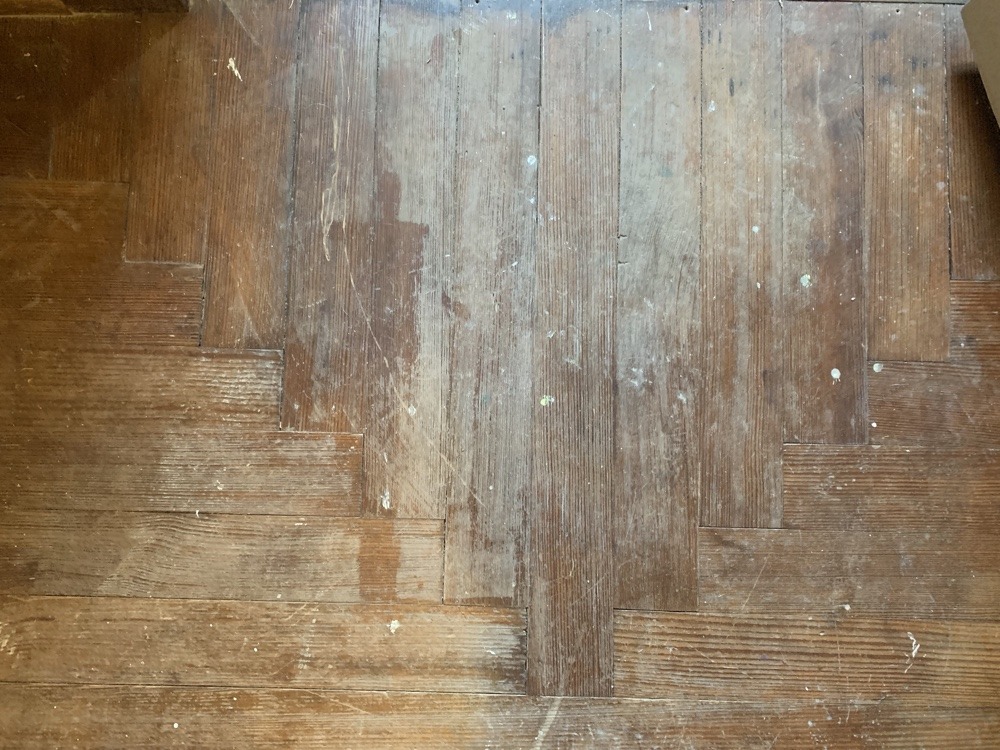
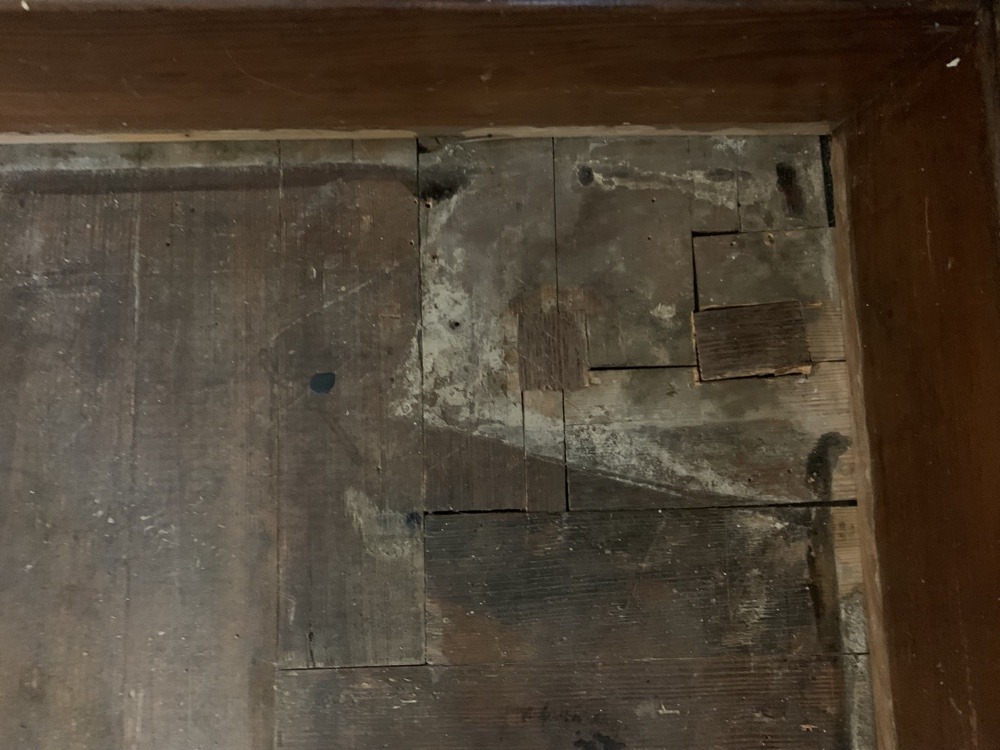
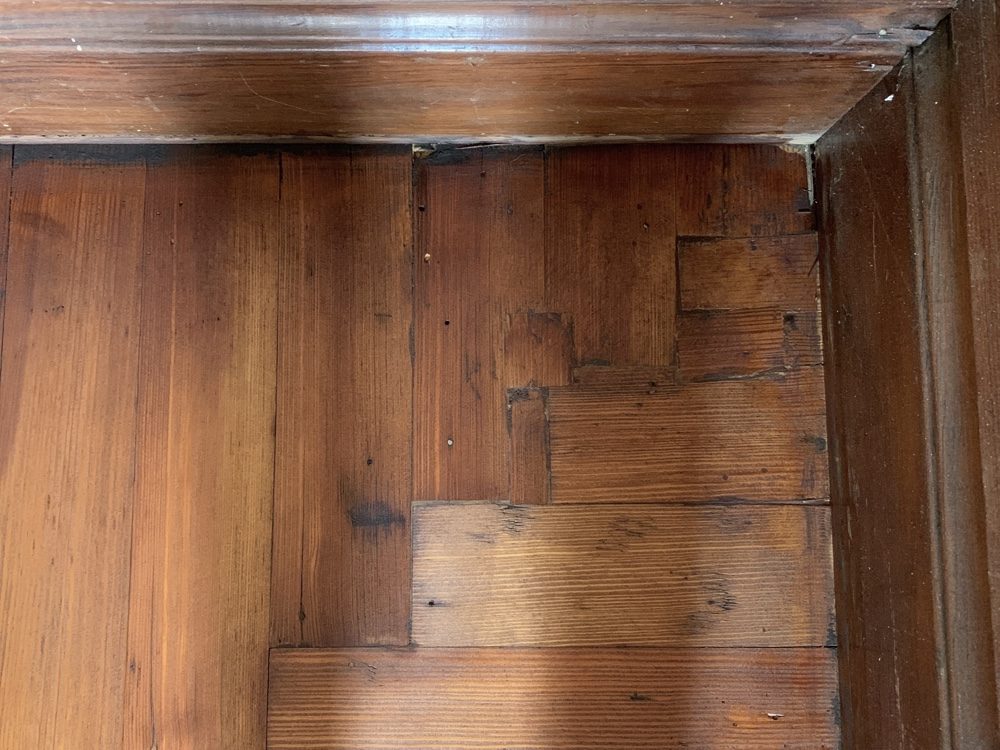
But what about the great mistake?
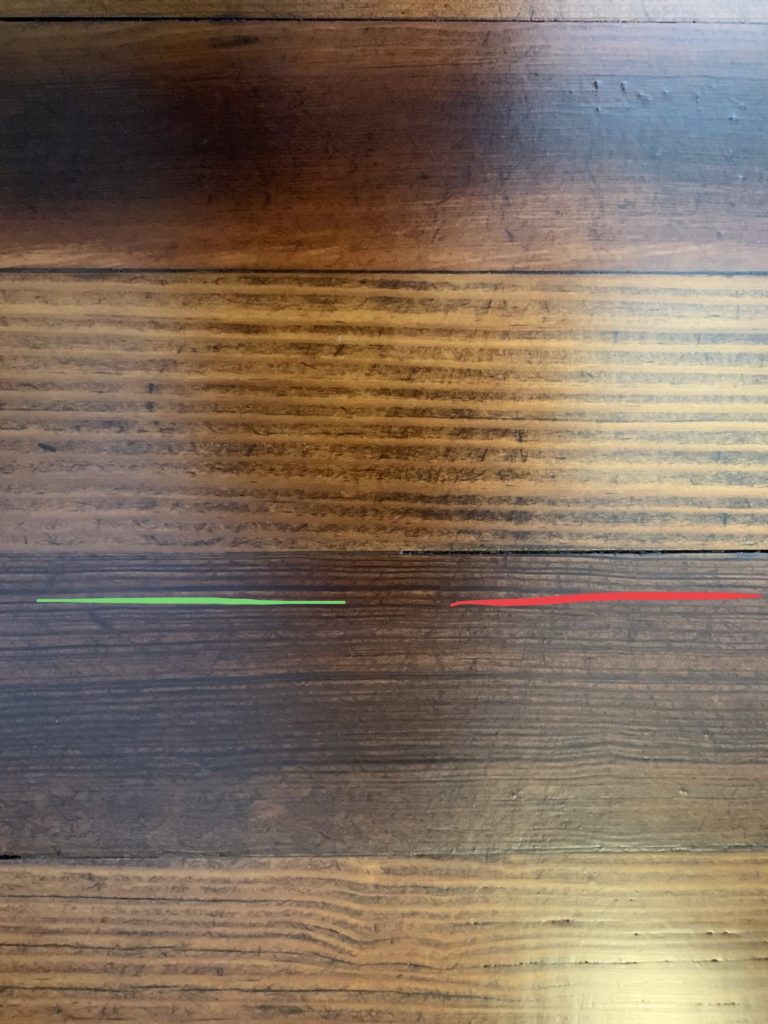
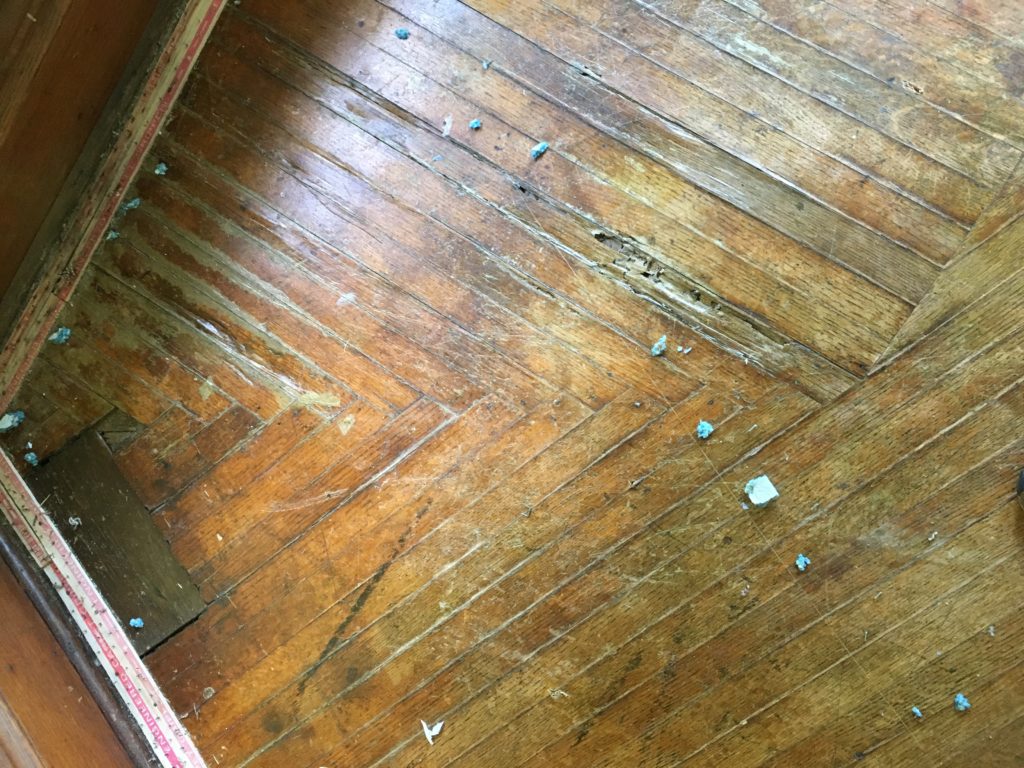
Great question! The second run with the sander eliminated almost ALL instances of the glue and left us with perfectly filled cracks. I did find one spot where it was clear how well the putty method worked, otherwise I can't actually detect what's been filled and what's the original wood.
The green line is under the crack where it was fulled, and the red is where the crack was left alone. Pretty impressive!
Total cost of the project
Before we wrap this guy up, let’s reflect on how much money we saved by going the DIY route. In total, we spent no more than $800 to refinish all 1,400 square feet, saving us around $3,400
Most of that $800 came from poly and sandpaper. Omg, we used so much sandpaper. The fee to rent the sander for a week was peanuts compared to the cost of the sandpaper.
Also, it’s important to note, Cole worked on these floors full time for two weeks solid. I did normal computer things during the day and helped in the evenings, but it was ultimately his full-time job.
So definitely opportunity costs involved— it would be silly to calculate Coles time at $0 an hour—but we’ve planned for this kind of thing, so we won’t try to figure out how much we “spent” on labor.
Otherwise, we might cry.
Would we do this again?
Abso-freaking-lutely. We’re super pumped to take our skills to the first floor where we’ll have a mix of oak and pine floors and some serious patch jobs.
We weep tears of joy every time we go up to the second floor. We gaze fondly at the before and after pictures and show them off like they’re a newborn baby. We are proud parents of these floors.
Till next time!
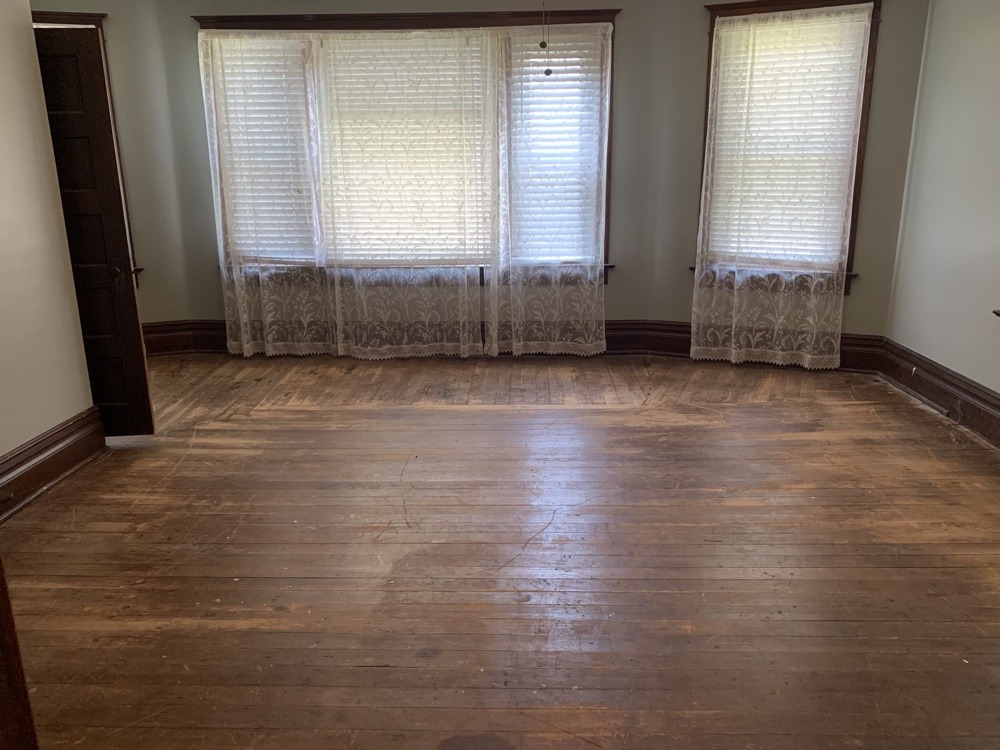
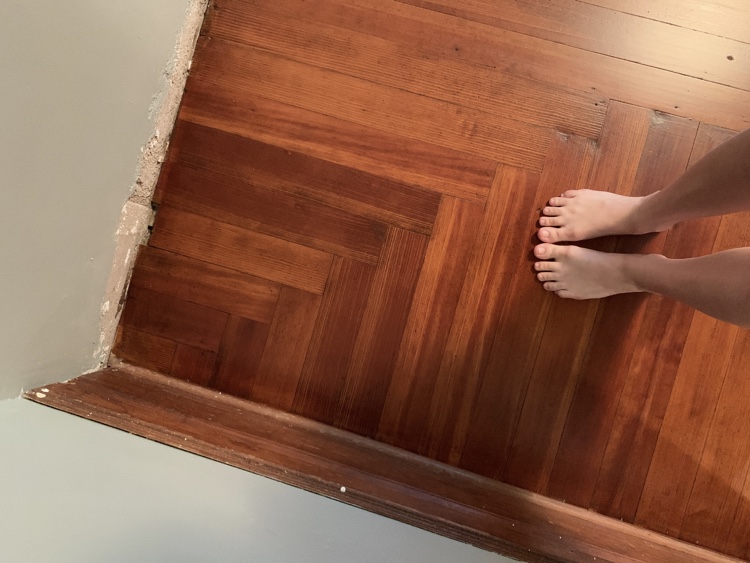
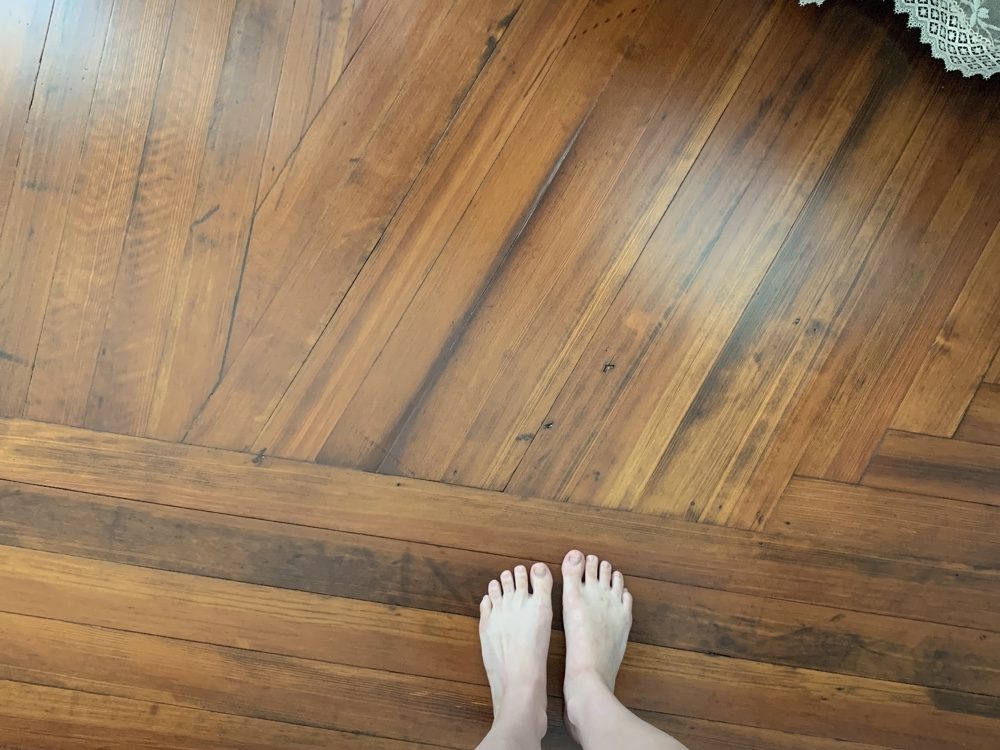
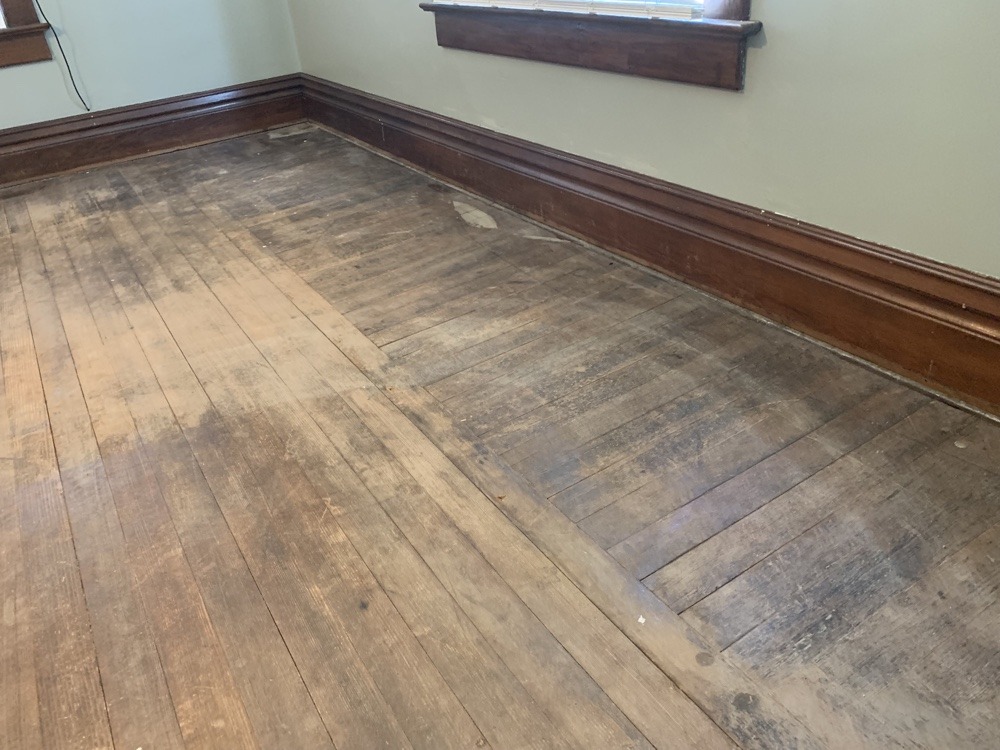
What stain was used on the floor above showing the bare foot person in the corner. Has a reddish tint. That is the color I want