Tearing Down Walls: Physically
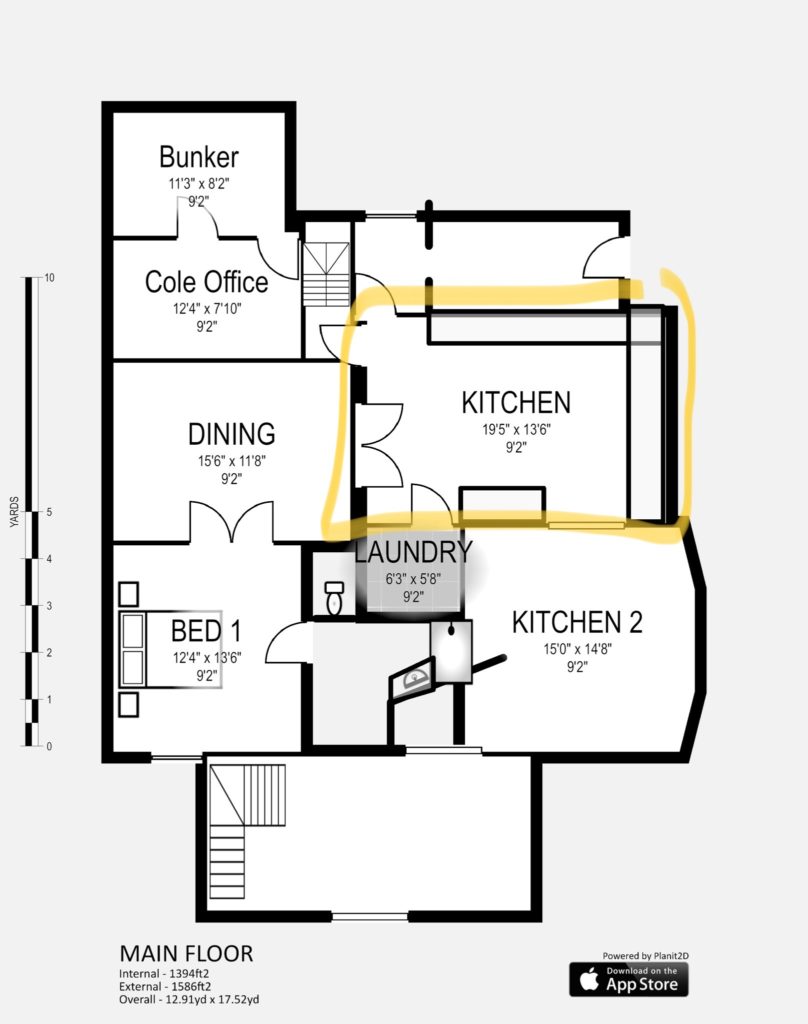
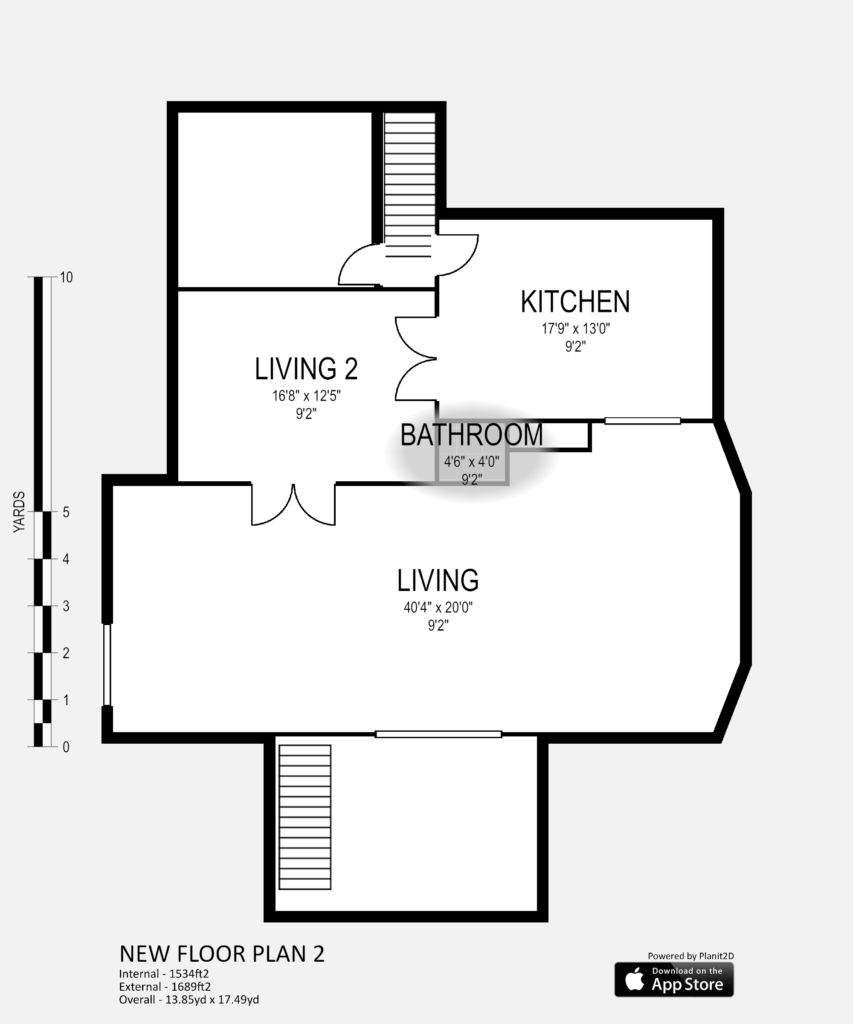
You guys, it's been a busy few weeks. So let's start with a quick refresher on the floor plan the day we moved in.
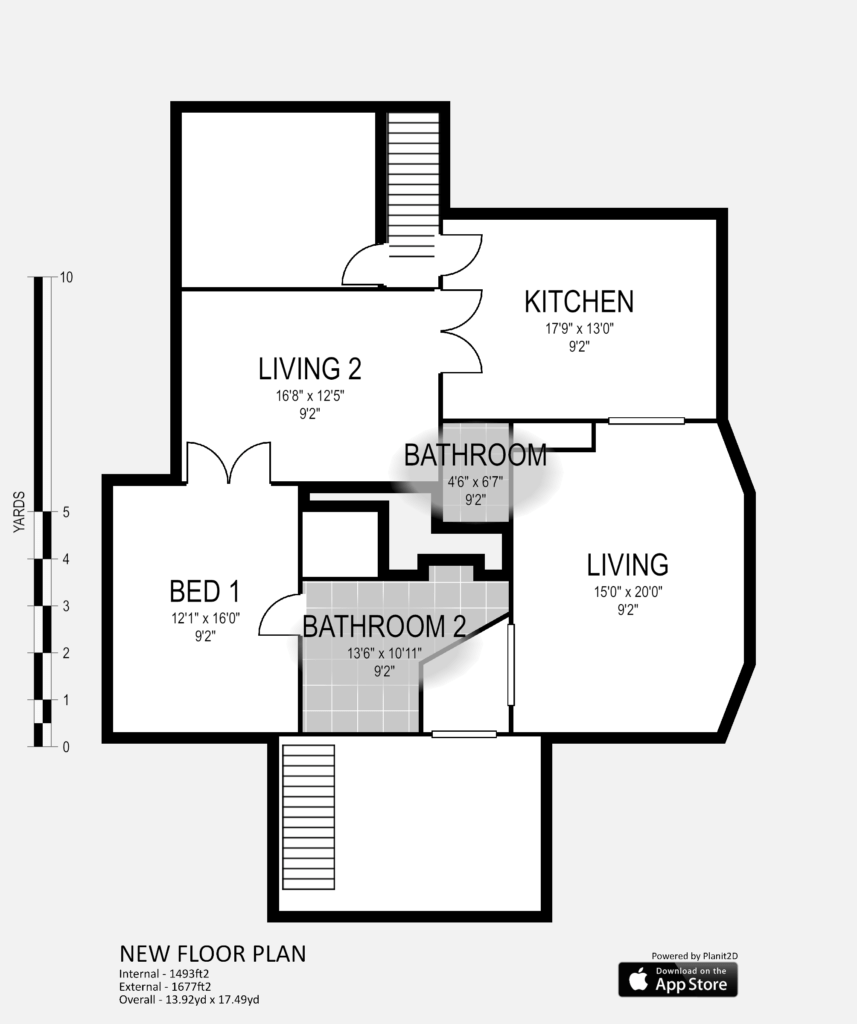
The bathroom right off the front door seemed super strange until Cole remembered this whole beautiful monstrosity was once apartments.
We know this because all water, gas, and electric bills ALL COME AS TWO DIFFERENT BILLS. So I pay 6 bills a month. For one house.
So the angled wall made a whole lot of sense, and honestly, I think it was once a SUPER CUTE first-floor apartment.
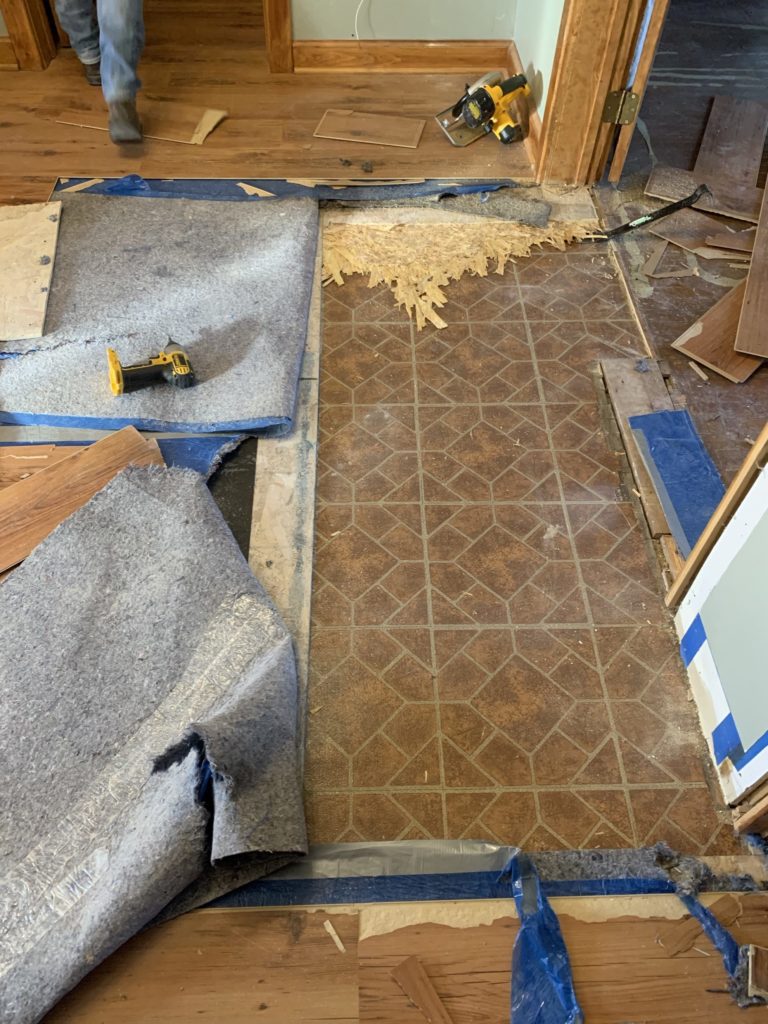
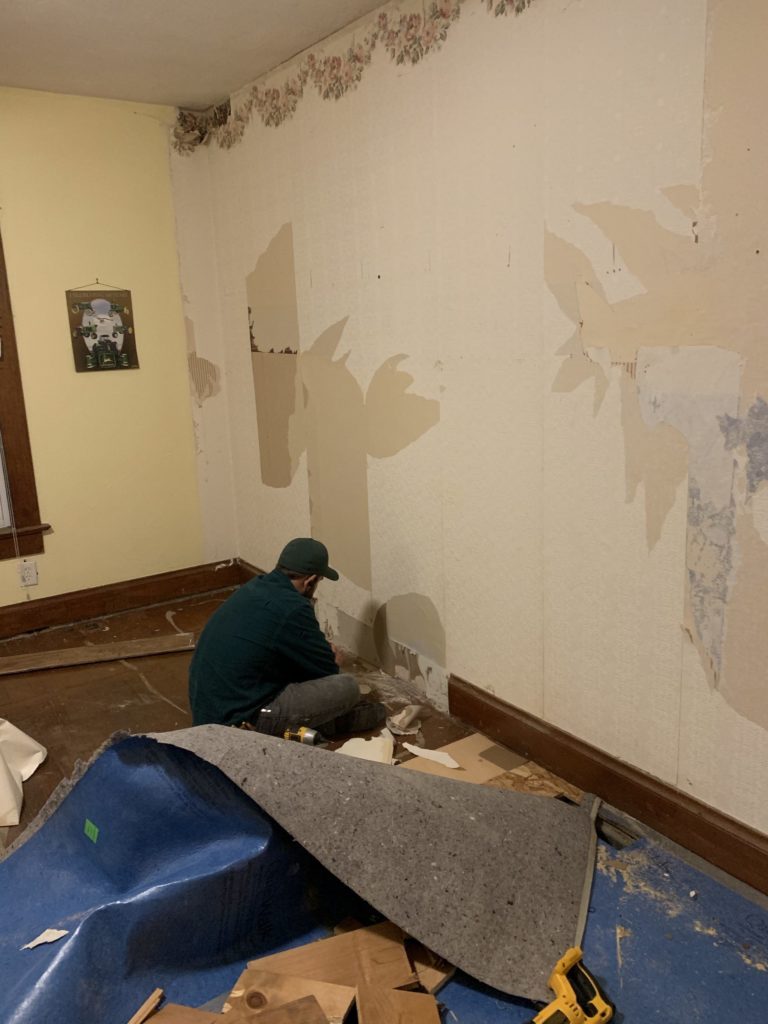
Before we could even start demolishing walls, we had to pull up the remaining carpet, carpet tacking, and staples. I tried my very very best to help, but developed blisters within 30 minutes and Cole ended up pulling all the tacking up himself.
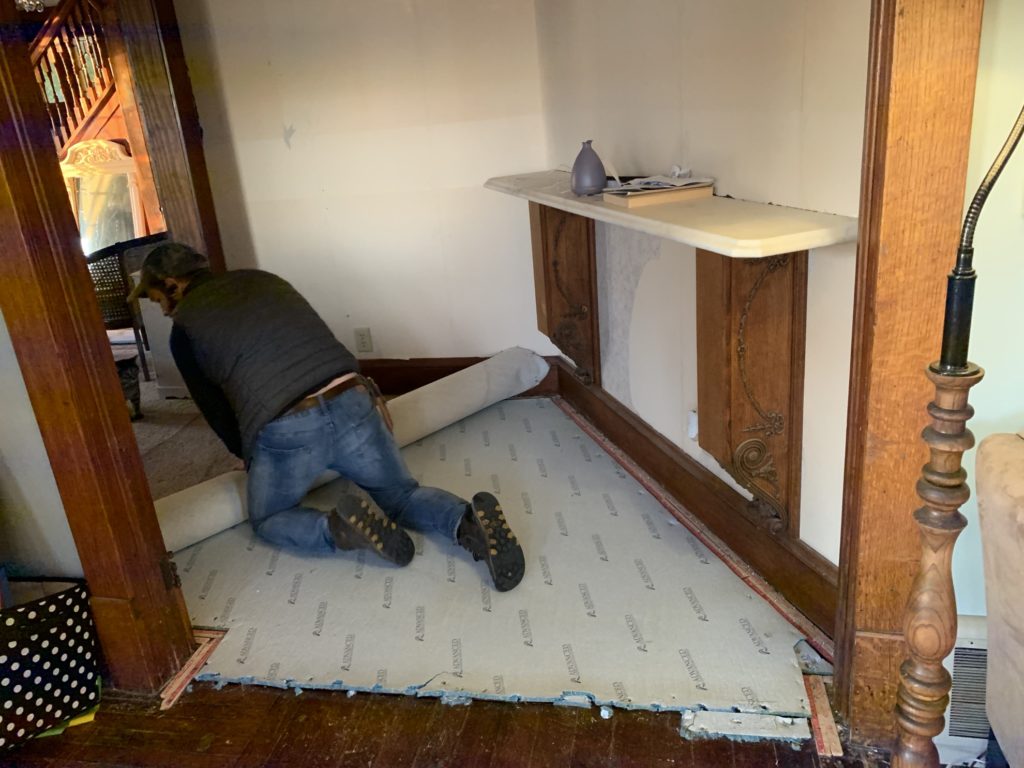
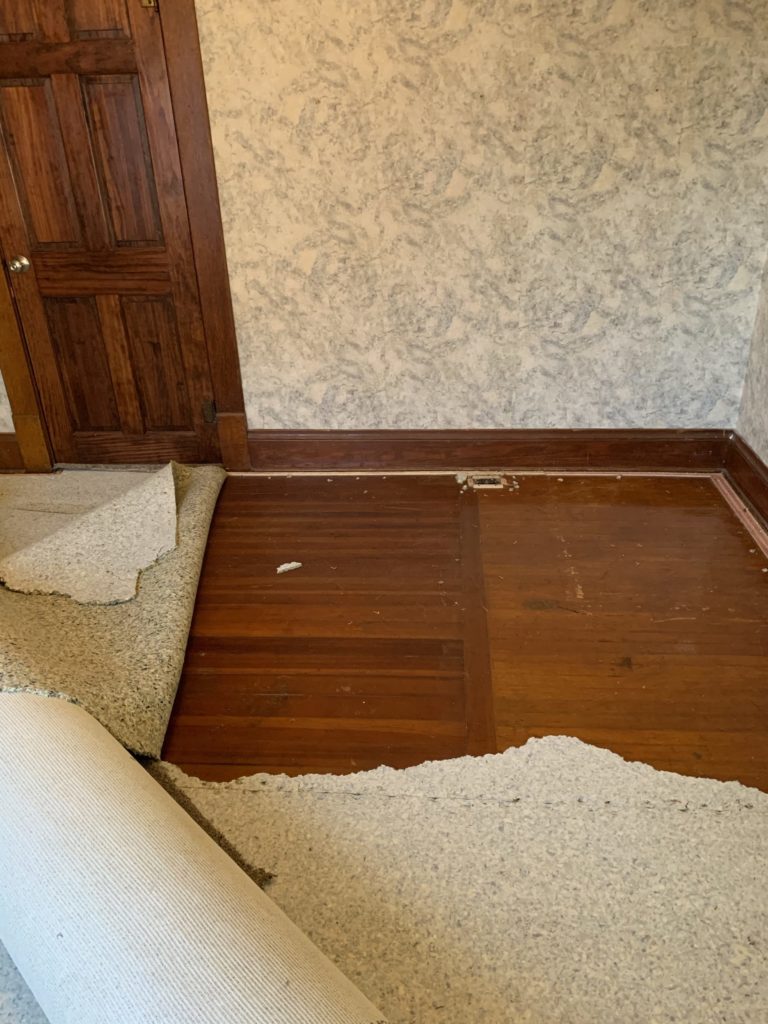
When the carpet was up we got to start INVESTIGATING. We had some theories about the floors/walls/doors but couldn't be sure until we really got in there.
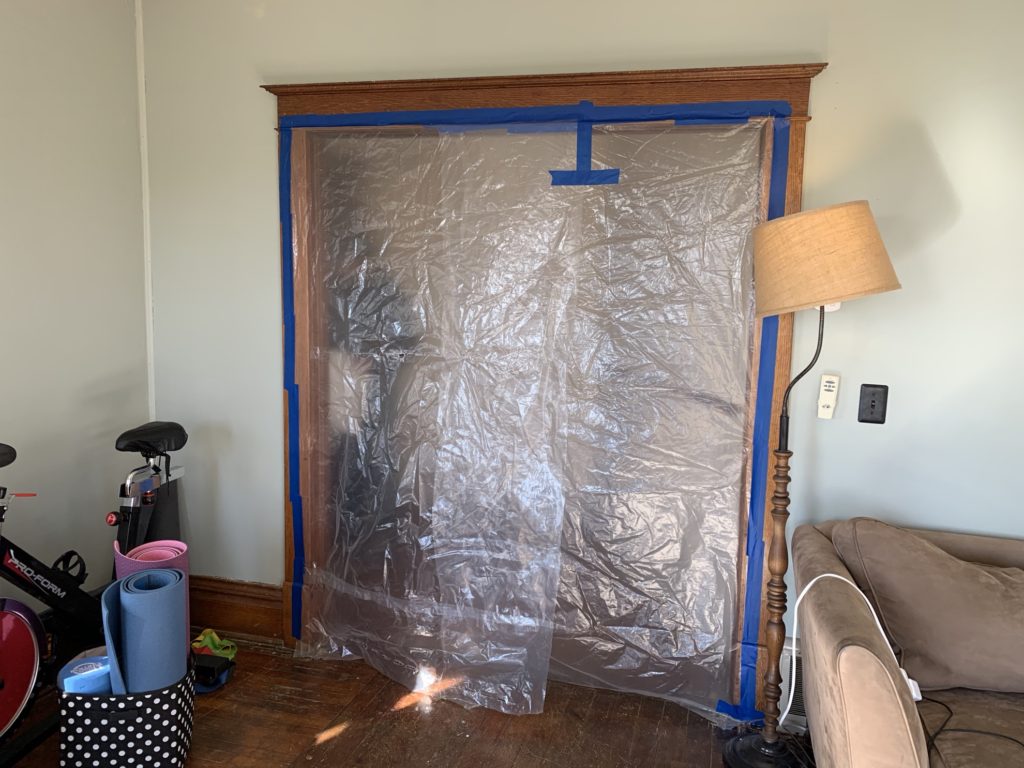
So with the carpet out of the way, we pulled out the french doors between LIVING 2 and BED 1 and the corresponding trim.
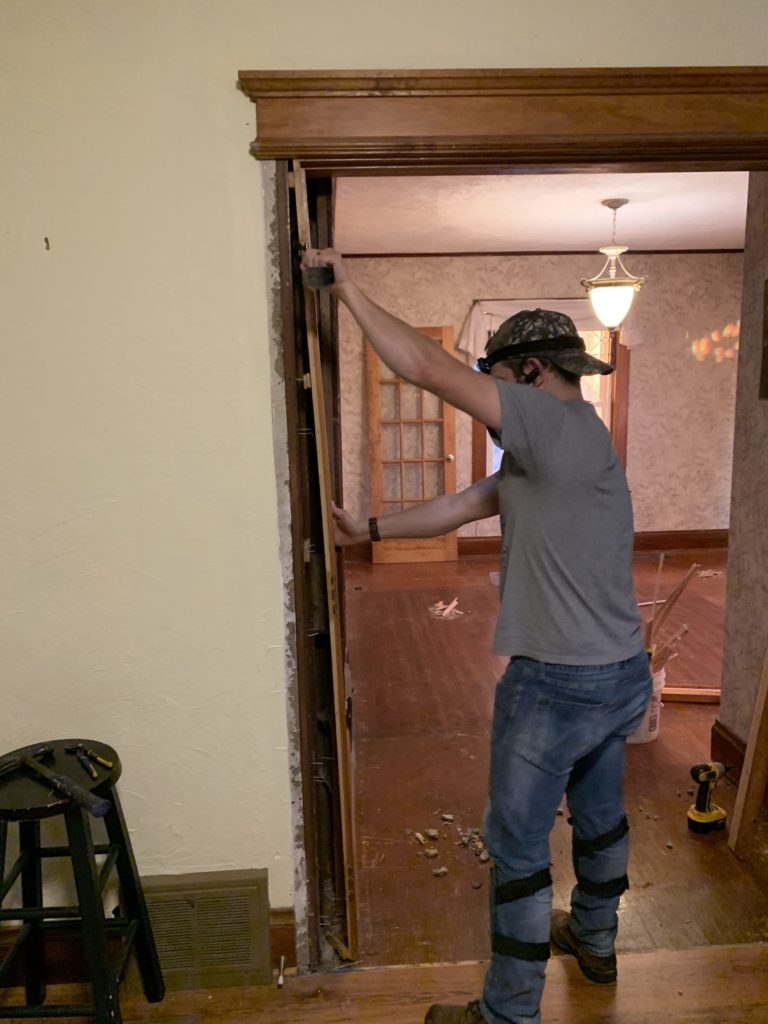
Cole had been hypothesizing there was a pocket door tucked in there, and we were hopeful we'd at least find something we could repair and reinstall. But OH BOY what we found was....
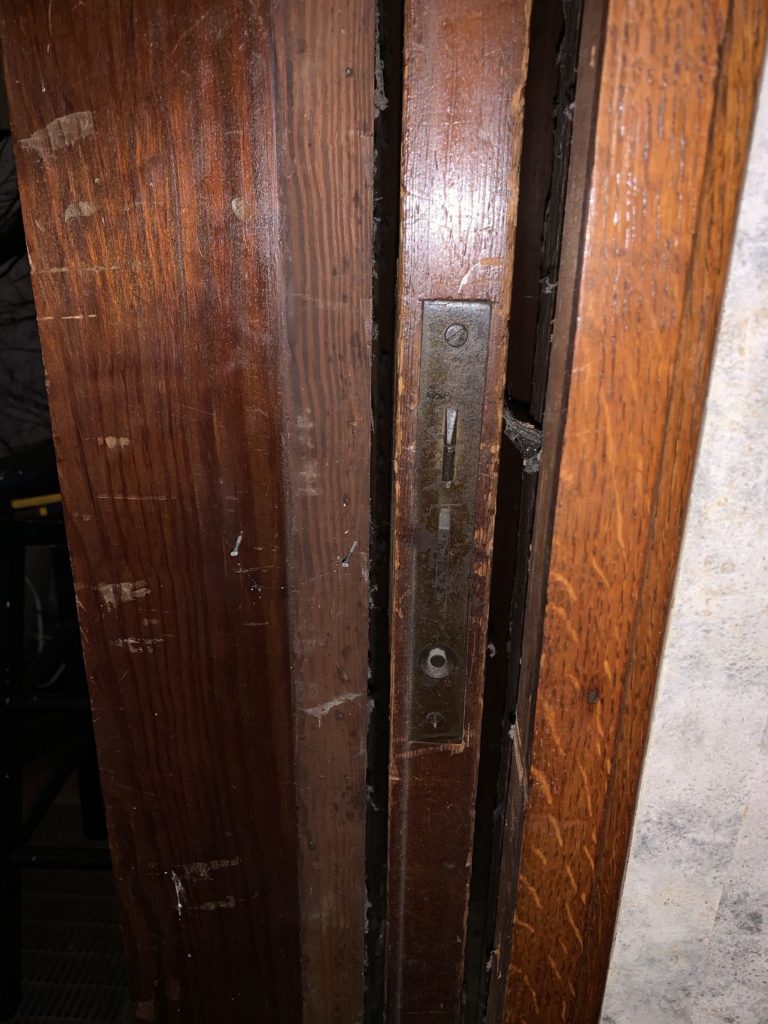
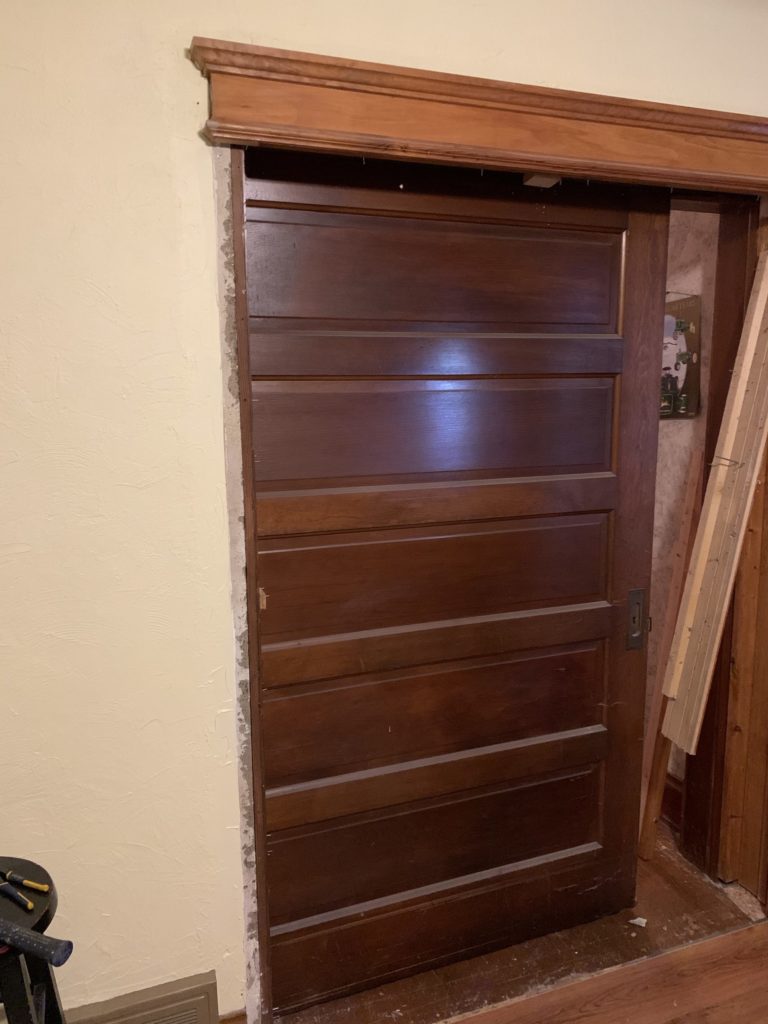
A perfectly perfect pocket door, fully functional with only a tiny squeak. Truly a best-case scenario. Whoever installed the french doors was kind enough to just push the door into its little cozy home and leave it there for us to find. We will absolutely be using this door for many many moons.
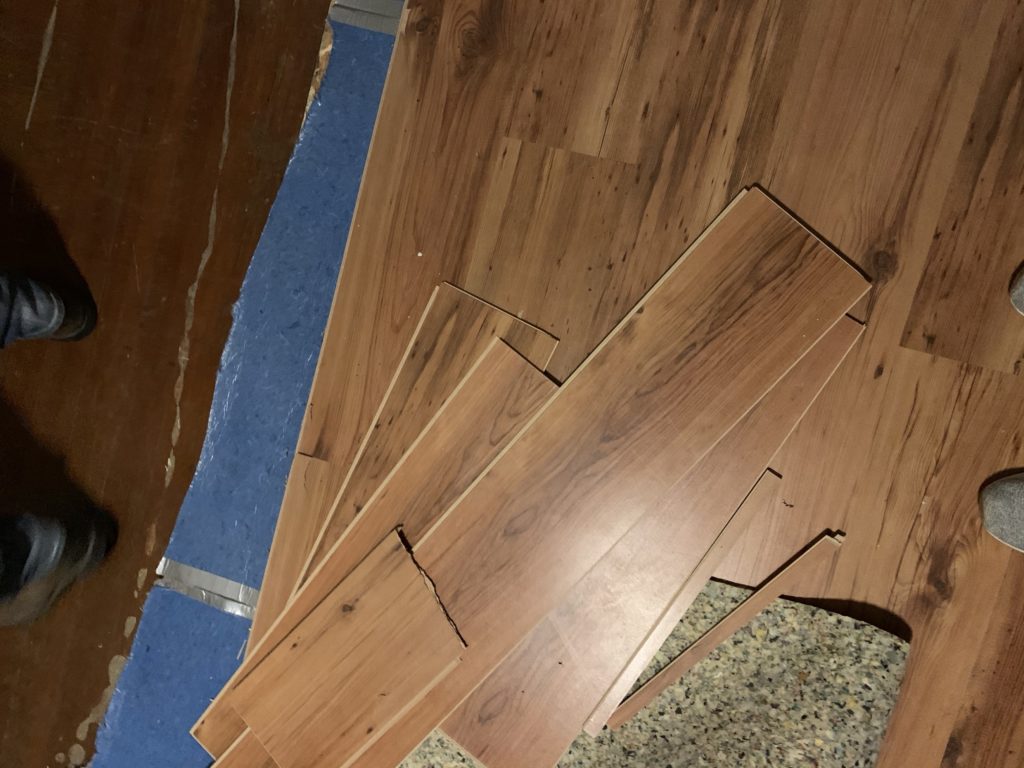
We then progressed into pulling up the floating floor in the LIVING 2 room, which had been used as a dining room, that we intend on using as a bedroom. We were both super nervous about the status of the floors because we had no way to peek at the hardwoods as we did with the carpeted areas.
It was an all-or-nothing situation.
So we pulled up the vinyl flooring, keeping what we could intact. Below the vinyl was a sound-absorbing layer, and below that, big sheets of plywood fastened down with a million screws and a whole bunch of glue. We were confused by the presence of the plywood, but we'd later learn why they elected to go with so many layers.
Below these vinyl floors we found...
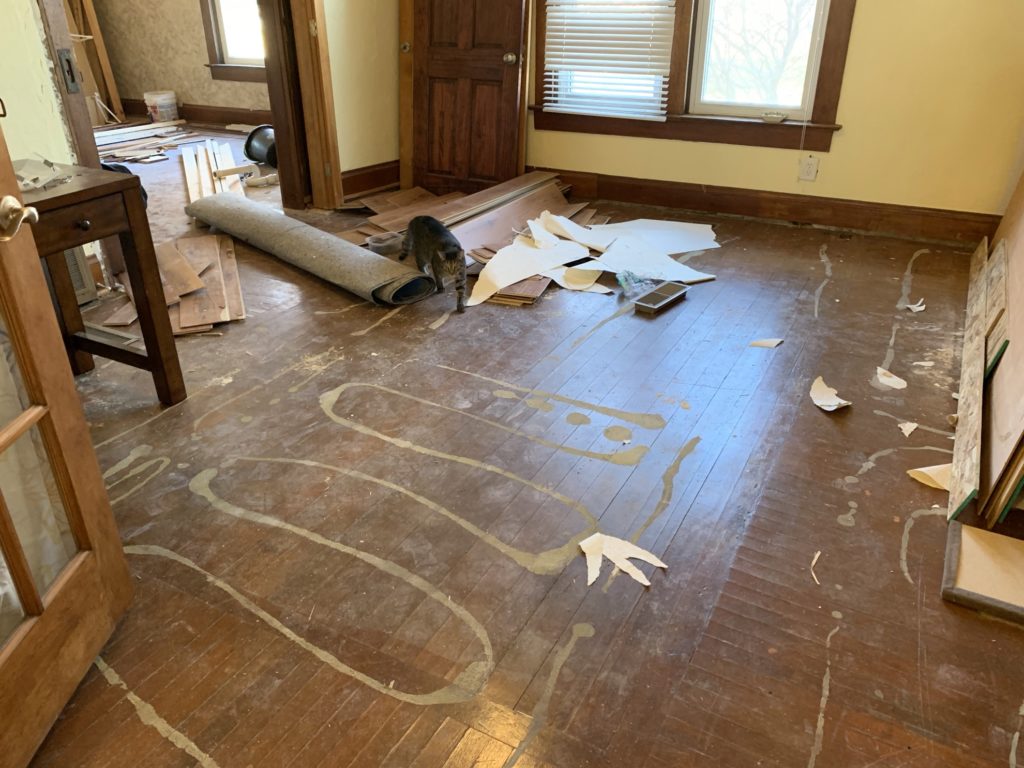
These near-perfect hardwood floors! As we had assumed, it was a mix of pine and oak, with the pine in the middle designed to be "hidden" by rugs. The squiggles are glue that will come right off with a proper sanding.
In the kitchen, we found a similar situation, but with the addition of a layer of linoleum that was truly a treat to scrape off, and below that, beautiful oak and pine floors again.
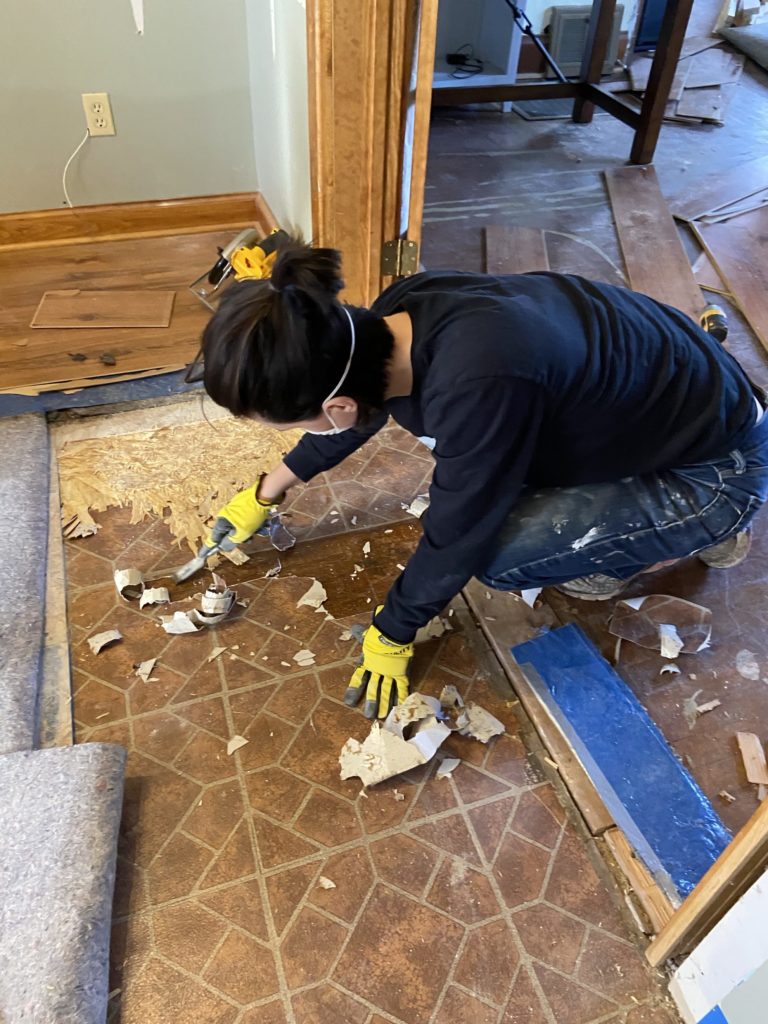
As we cracked away on the floors, we, unfortunately, stumbled upon an upsetting amount of black mold. Thankfully, it was locked between the layers and it was highly unlikely we had been breathing it. However, this did mean we donned face masks for the remainder of the floor reno to prevent black mold poisoning. We ripped it all out and got it out of the house immediately and we can safely breathe once again.

Also, I almost vommed like 10 times while scrapping mold-covered linoleum.
And that was the end of the first 48 hours of reno and I had to return to my day job. While I did internet things upstairs, Cole plugged away, pulling off trim and baseboards and carefully dissembled walls, with all the annoying patience of a craftsman.
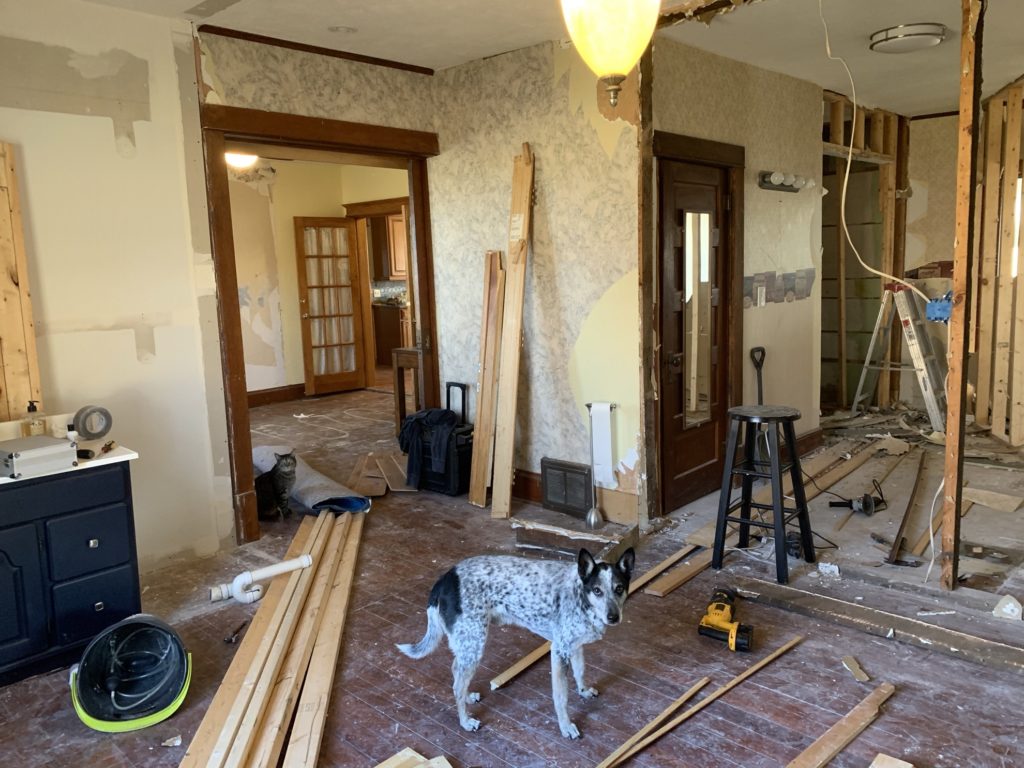
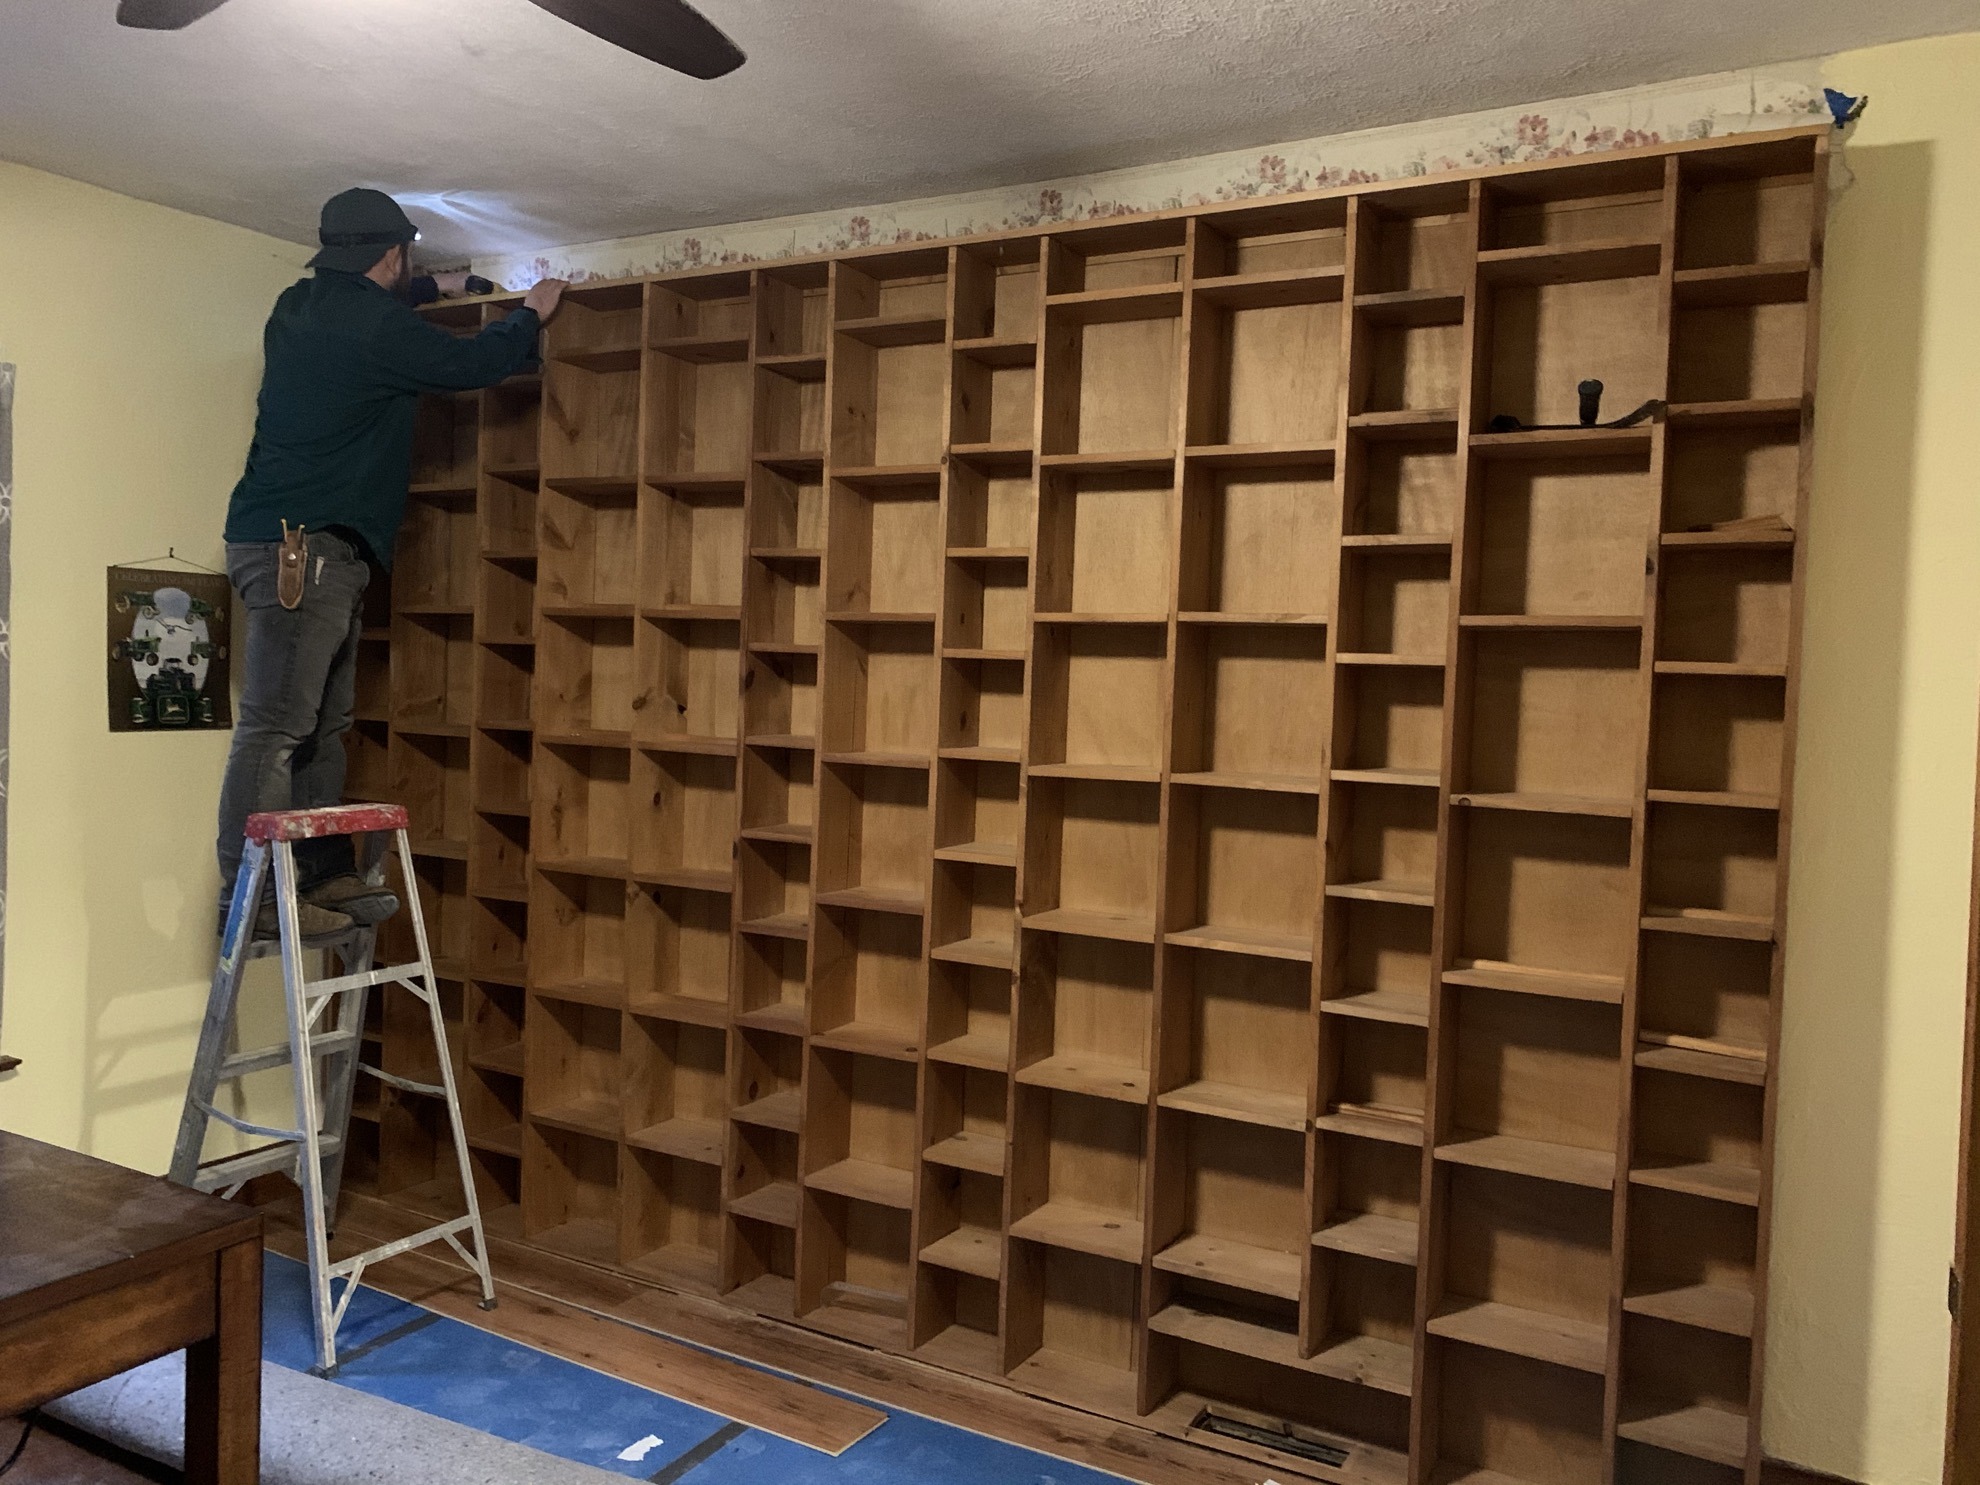
He pulled down the built-in shelves to reveal an original doorway, which we absolutely plan on opening up to use for our master suite.
The shelves were intended for nick-nacks and weren't worth repurposing, so we will be using them for firewood for our outdoor wood furnace.
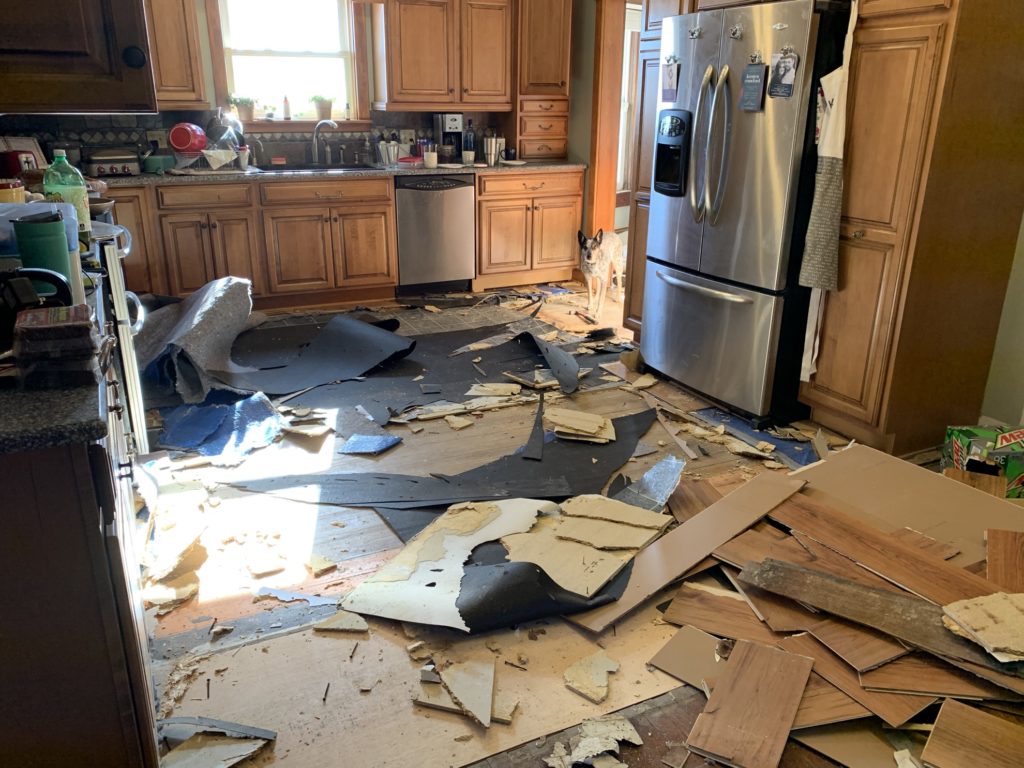
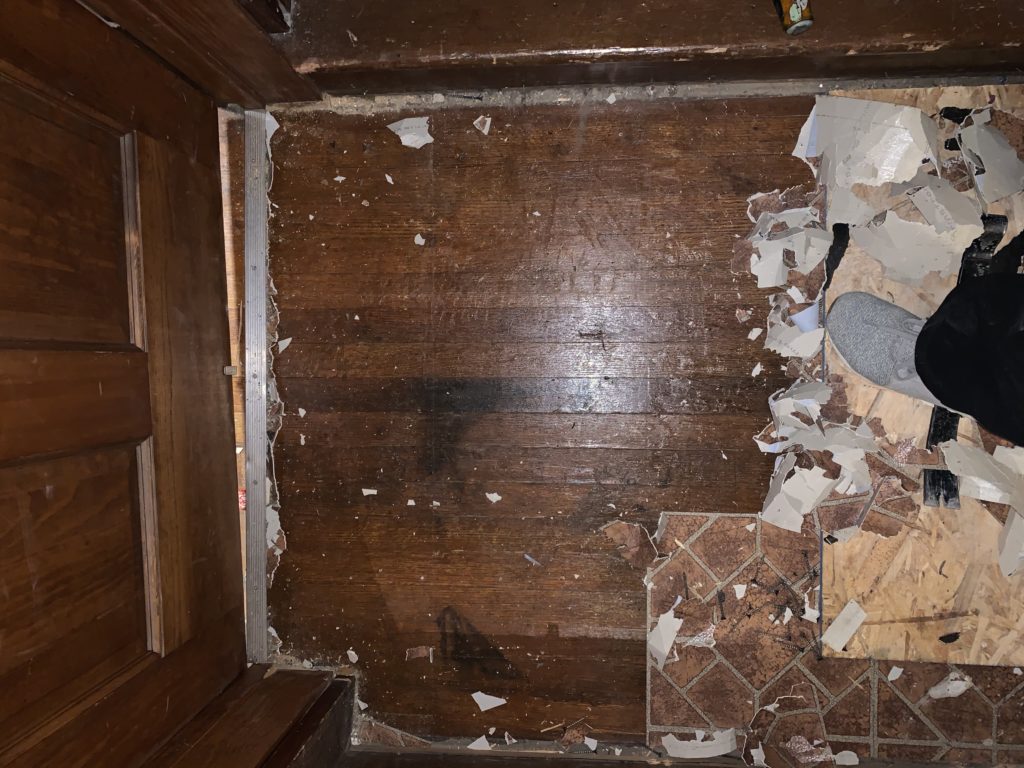
Speaking of the outdoor wood furnace, it's been inoperable, so Cole took a break from demo to work on that, while I took to removing the rest of the kitchen floor myself.
It was positively the most exhausting thing.
Look at this mess.
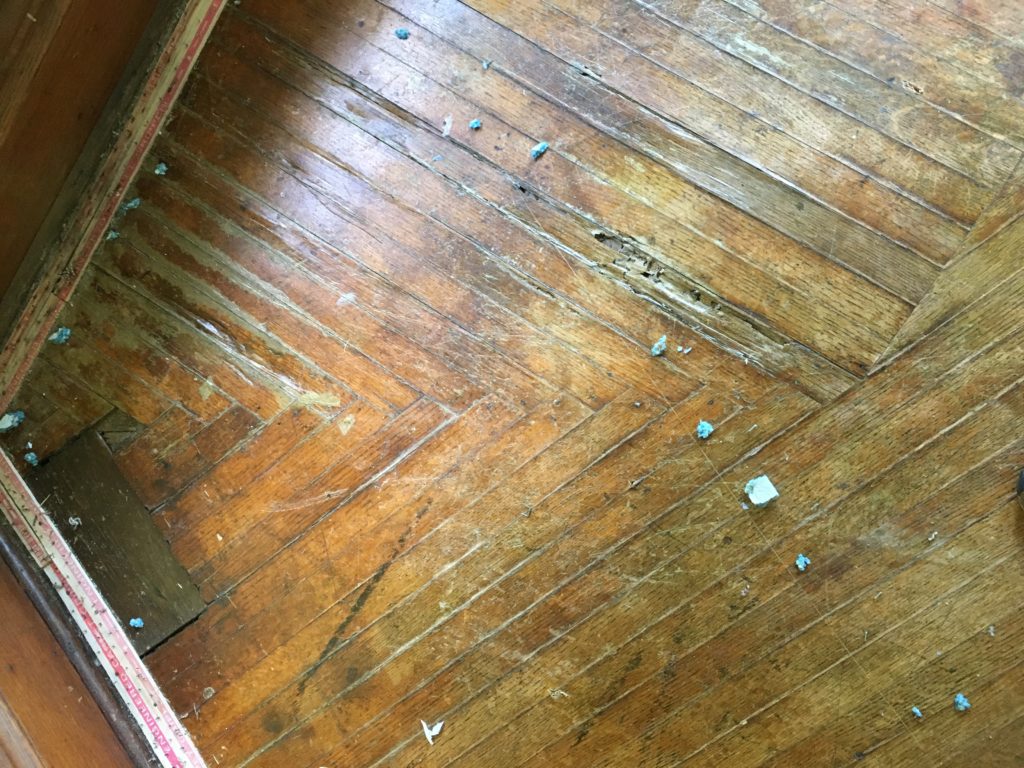
I quickly found evidence of the original floor plan (thanks floor!) and realized we'd have to make some compromises on what flooring gets to stay.
The kitchen was originally much smaller with built-in cabinets and small doorways. When expanding the kitchen, linoleum was put down over plywood to cover the holes left from walls and cabinets, as evidenced below.
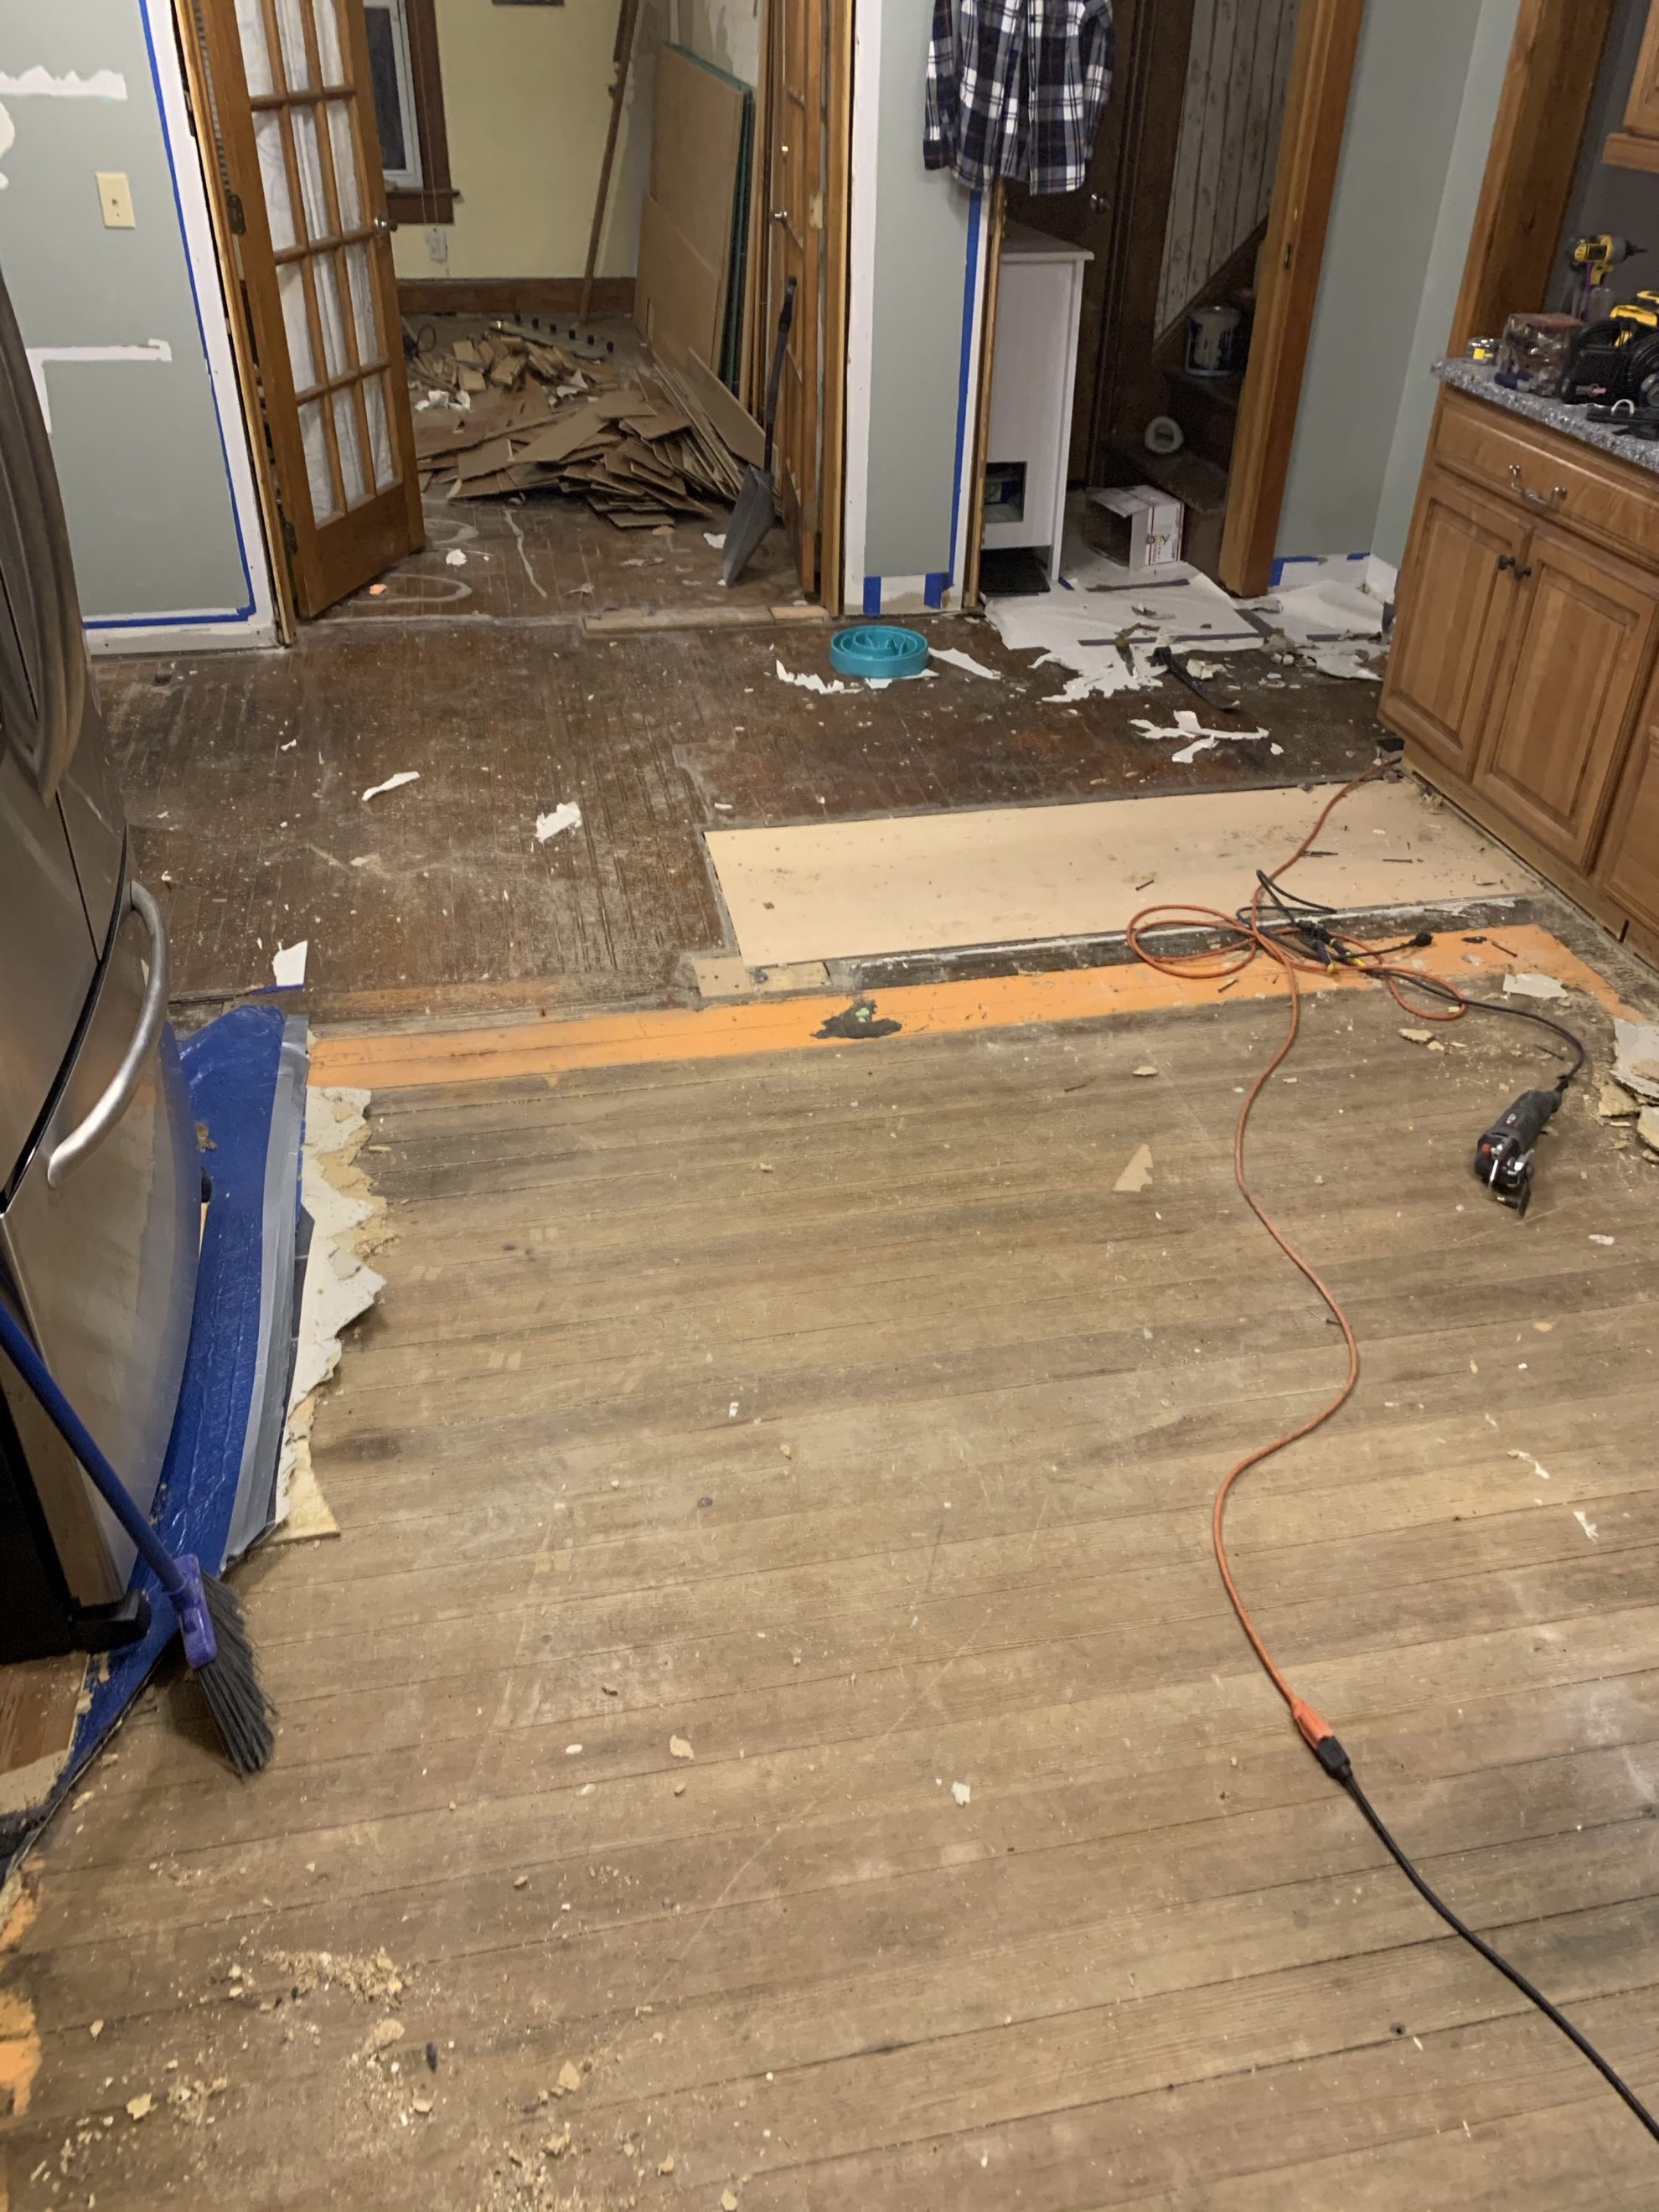
No judgment here, you gotta do what you gotta do.
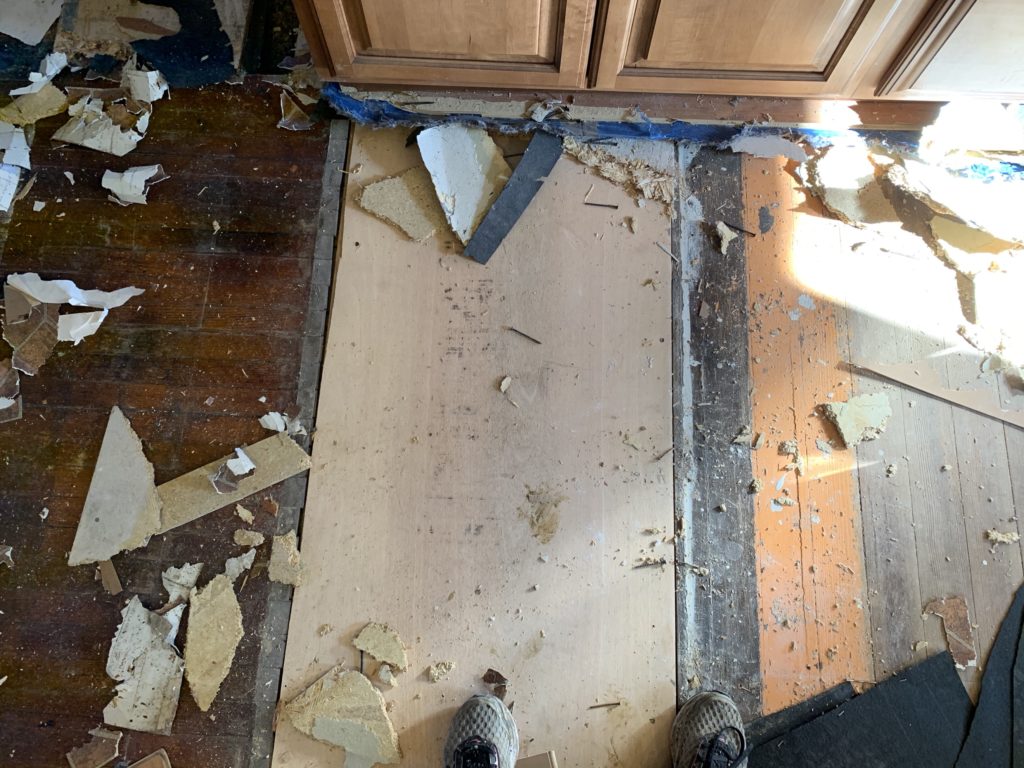
The rectangle of plywood above is where the cabinets once were and covers where the wood floors never were. Just subfloor under there. To the left, beautiful oak, to the right, beautiful pine (like the floors upstairs).
I took a stab at comparing the kitchen when we moved in and the kitchen originally.
At this point, we had a decision to make. I was absolutely adamant about keeping the pine floors in the kitchen but ALSO didn't want to do a weird patch job with non-original floorboards. I'm really kind of the worst. I WANT ORIGINAL MATERIALS BUT ALSO SEAMLESS FLOW OK.
In related news, we have several places around the house where oak floors need to be patched. Large areas that got feasted on by many hungry termites and smaller areas where toilets had been.
I'd done a bunch of research and concluded our oak floors were quarter and rift sawn two-inch oak floorboards and found a distributor on the world wide web.
We were prepared to purchase the wood to patch the damage, but this kitchen issue presented an interesting opportunity.
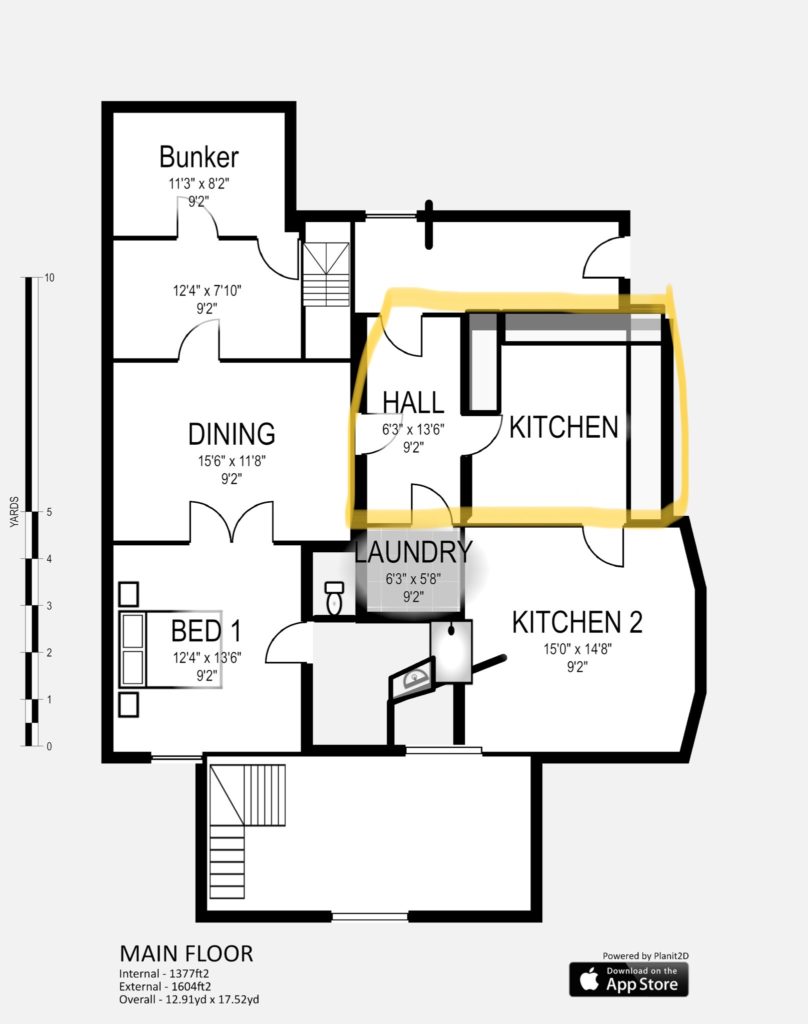
With a little thinking, ideating, and complaining, we decided to harvest the oak from the kitchen (old hall) and install victorian tile in its place. (I'll explain that in a later post).
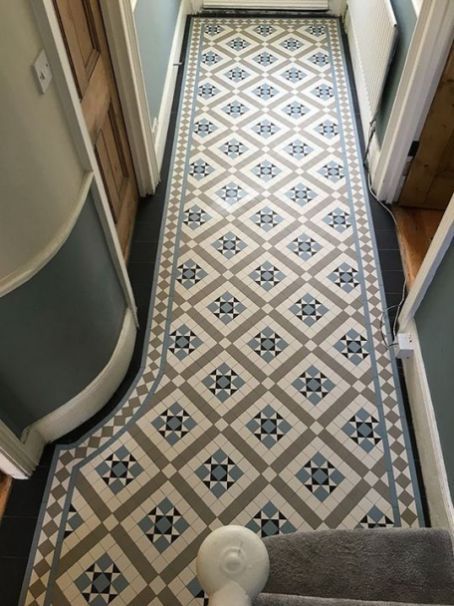
This would create a waterproof walkway from the mudroom/back door through to the laundry room and leave our pine floors untouched. Magic.
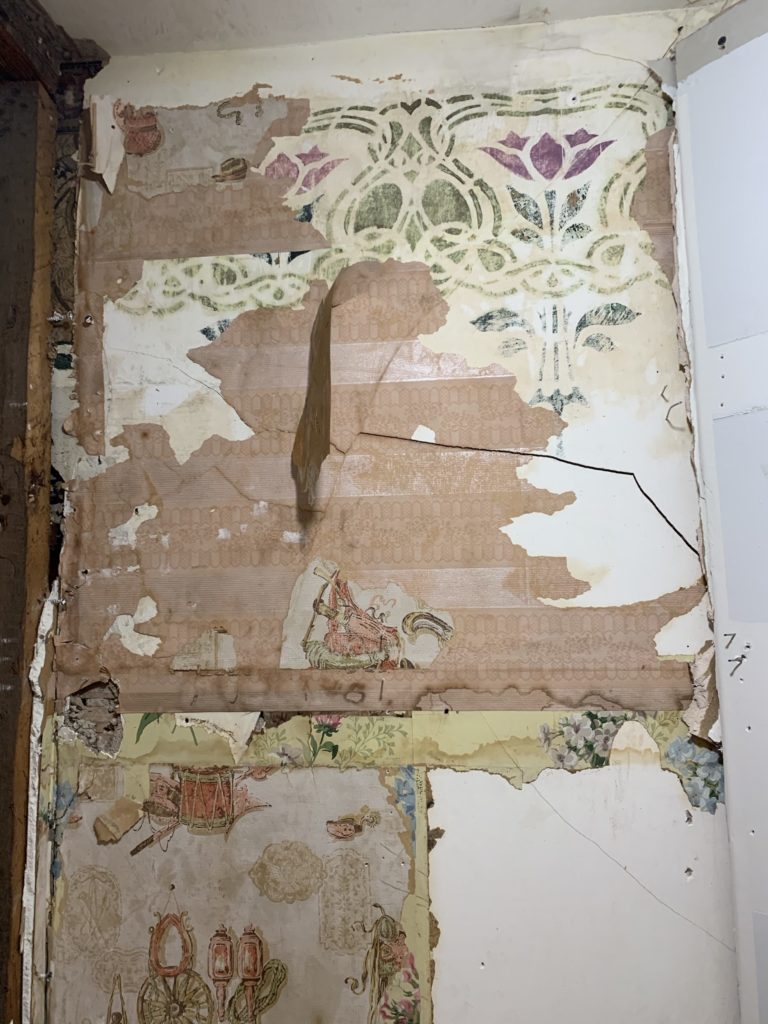
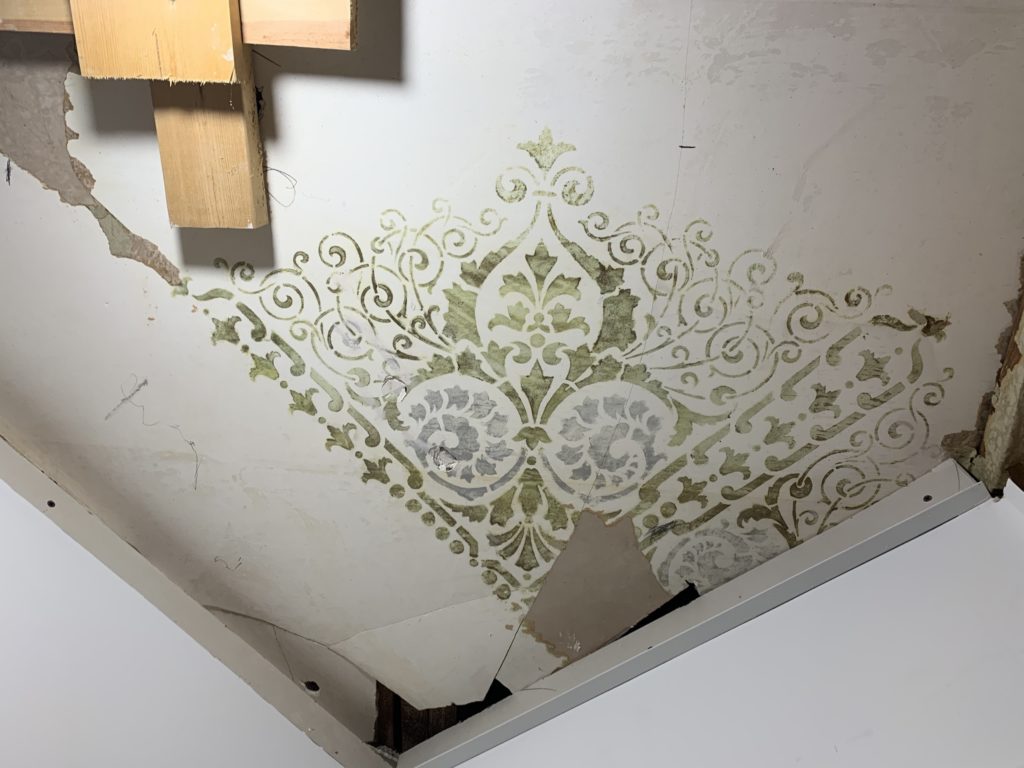
BUT BACK TO THE WALLS.
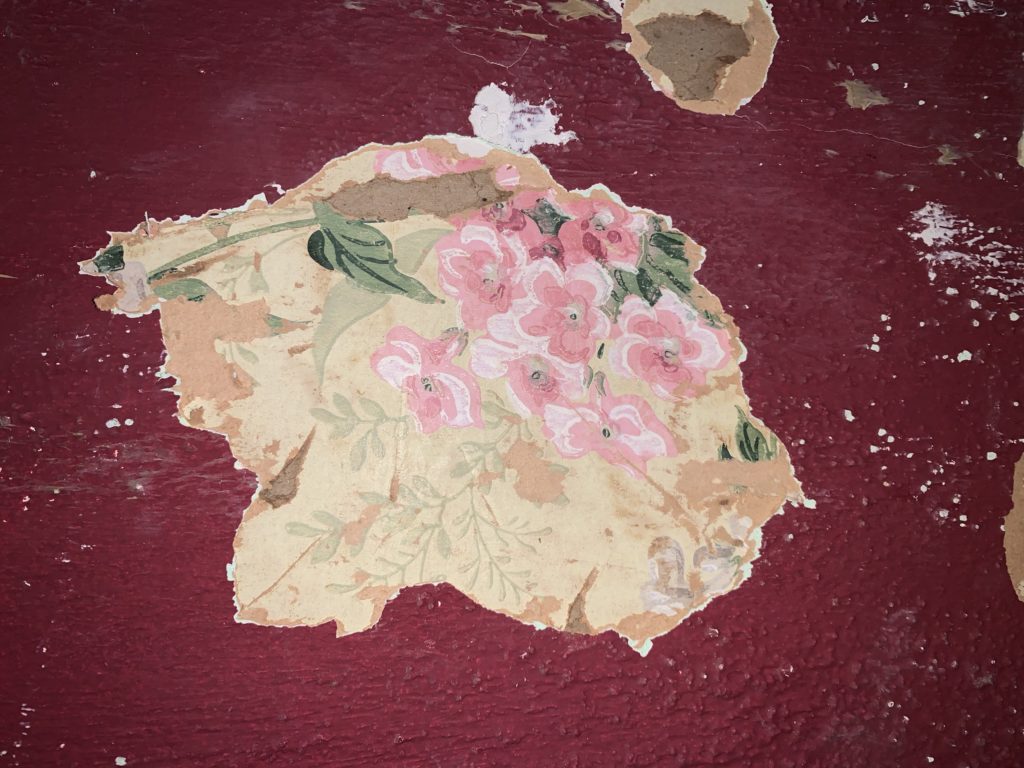
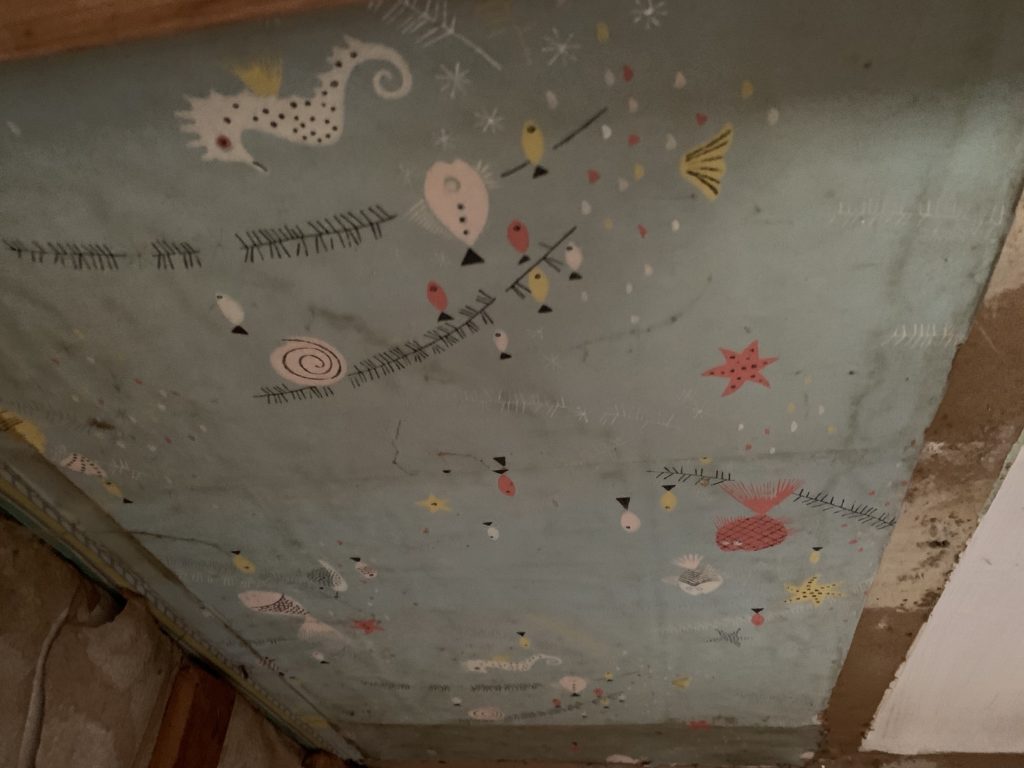
This was just messy, gross work that I didn't help a whole lot with. But we did find some neat things!
So with the wall down, we can officially run circles around our house!
Here's the view before...
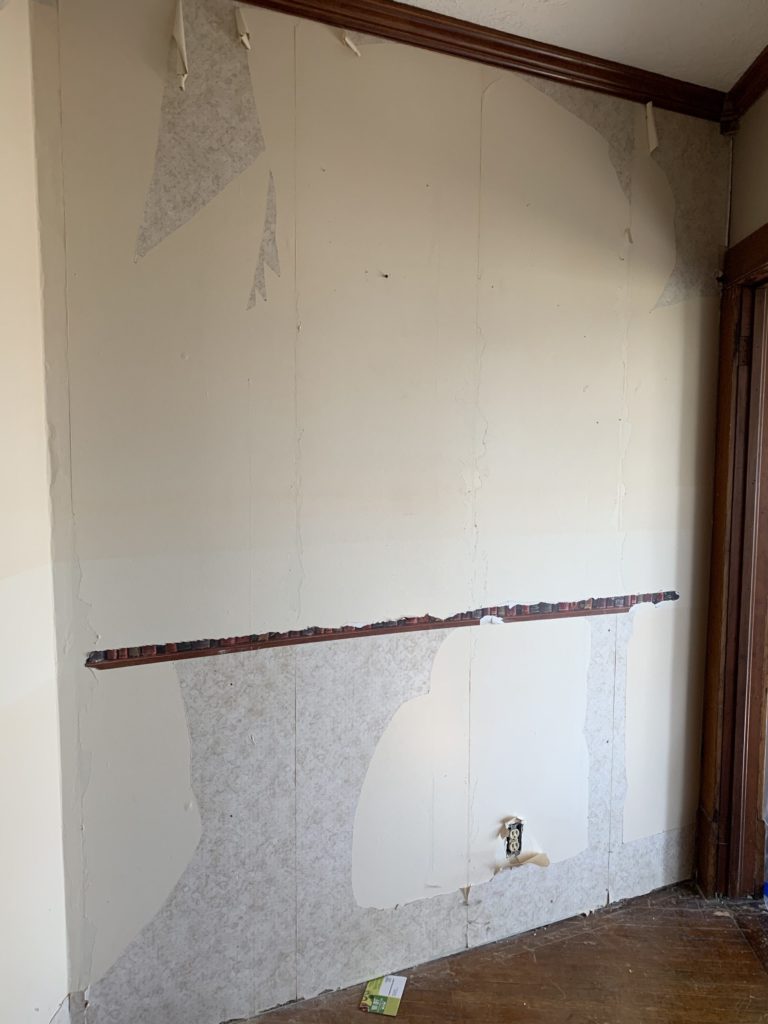
During...
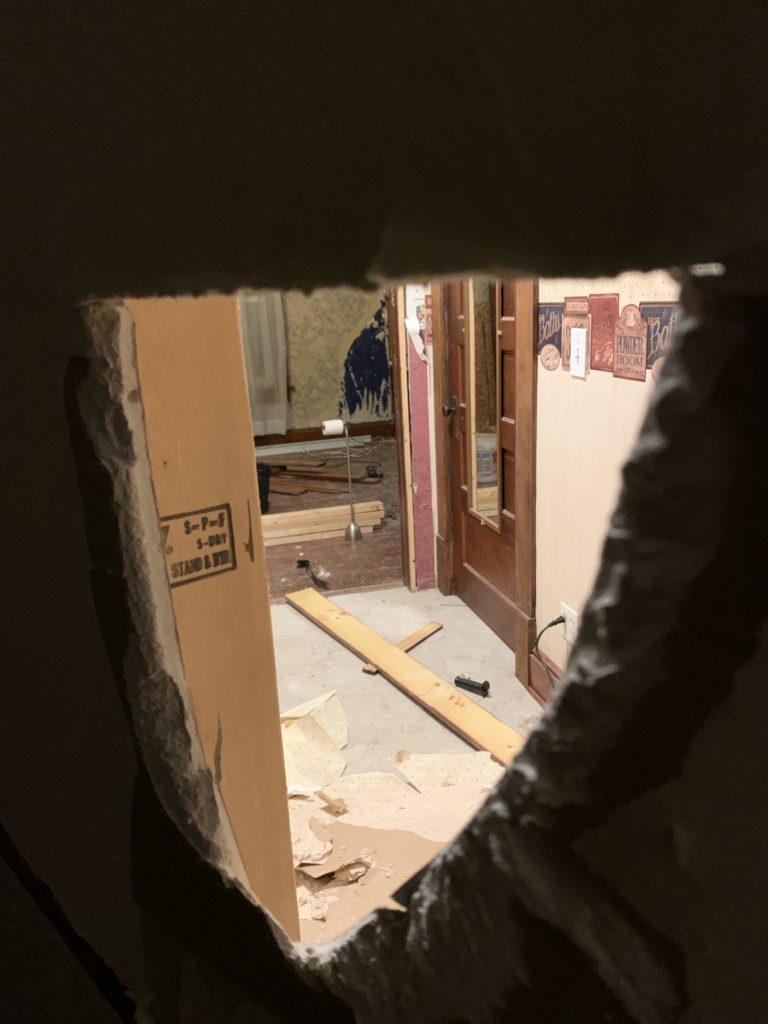
And now!

From the other side before...
And right now.

If you're confused, I'll try to reorient you!
Before:
Now-ish (it's missing a space reserved for the old chimneys, I'm not an engineer, I don't know what you expect from me)
While writing all of this down I got incredibly sentimental and wrote a corresponding piece I'd love for you to read as well here.
Leave questions or suggestions below, because my eyes went crossed typing this, so I'm sure you have a headache as well.
People who install carpeting over good hardwood flooring should be neutered. Cole’s patience is a virtue. Hang in there.
WOW , WHAT AN UNDERTAKING. ONE COULD TELL FROM THE OUTSIDE WHILE DRIVING BY,THAT AT ONE TIME IT WAS A BEAUTIFUL HOUSE. LIVING CLOSE BY I NEVER GAVE IT A THOUGHT ABOUT SOMEONE BUYING IT AND RETURNING IT BACK TO IT'S ORGINAL GLORY.. IF THE CRAFTMEN WHO BUILT THE HOUSE COULD SEE IT BEING TURNED BACK INTO A BEAUTIFUL HOME THAT THEY HAD ORGENIALLY BUILT, THEY WOULD BE SMILING.
THANK YOU FOR THE TOUR, WHAT A BEAUTIFUL ASSET TO HAMILTON. YOU AND COLE VOYAGERS BRING THE PAST BACK TO LIFE. THANK YOU FOR BRING ME ALONG WITH YOU. I ALSO APPRECIATE NOT HAVING TO EAT AND SLEEP WITH SAWDUST. COMING UP THIS WEEKEND AND HOPING FOR THE TOUR. NUGS AND LOVE.
Great article! I really appreciate the clear and detailed insights you've provided on this topic. It's always refreshing to read content that breaks things down so well, making it easy for readers to grasp even complex ideas. I also found the practical tips you've shared to be very helpful. Looking forward to more informative posts like this! Keep up the good work!
Your blog is a constant source of inspiration for me. Your passion for your subject matter shines through in every post, and it's clear that you genuinely care about making a positive impact on your readers.